

 Tiếng Việt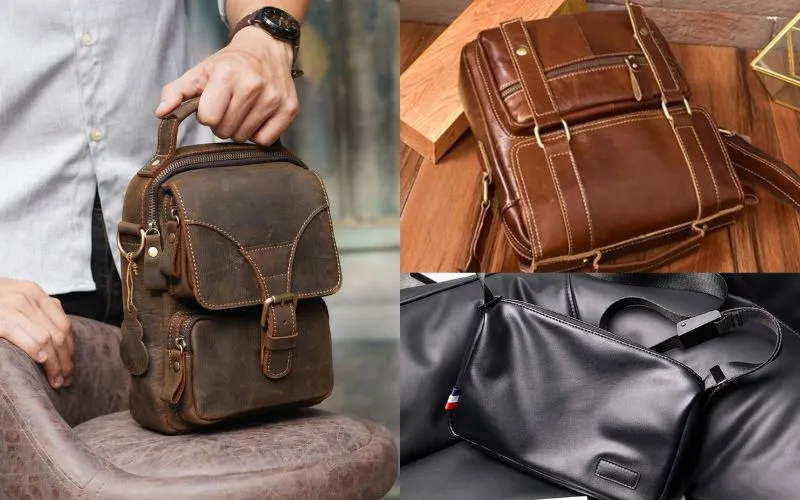
Hop Phat crossbody bag manufacturing workshop has noticed many people interested in how to sew leather crossbody bags. Moreover, this is becoming a popular handmade trend that many people love. Therefore, based on our practical experience, we provide detailed A-Z guidance to help you create unique leather bags, save costs, and express your individual personality.
I. Overview of Sewing Leather Crossbody Bags
1. Reasons to sew leather bags at home
Sewing your own leather bags brings many outstanding benefits. You have complete control over material quality, from leather type to accessories. Significant cost savings – a handmade leather bag only costs about 300,000-600,000 VND compared to 2-3 million VND if purchased ready-made.
2. Advantages of handmade leather crossbody bags
Handmade leather bags have superior durability because you control every stitch. Flexible design according to personal preferences. Quality is guaranteed because you carefully select every detail. Especially, self-sewn leather crossbody bags can become meaningful gifts for loved ones.

3. Difficulty level and completion time
For beginners, sewing leather crossbody bags has medium difficulty. Completion time ranges from 6-10 working hours, which can be divided into 2-3 weekend sessions. Basic sewing skills will make the process smoother.
II. Preparing Materials and Tools for Sewing Leather Bags
Thorough preparation of materials determines 70% of product success. Hop Phat recommends investing in quality from the start.
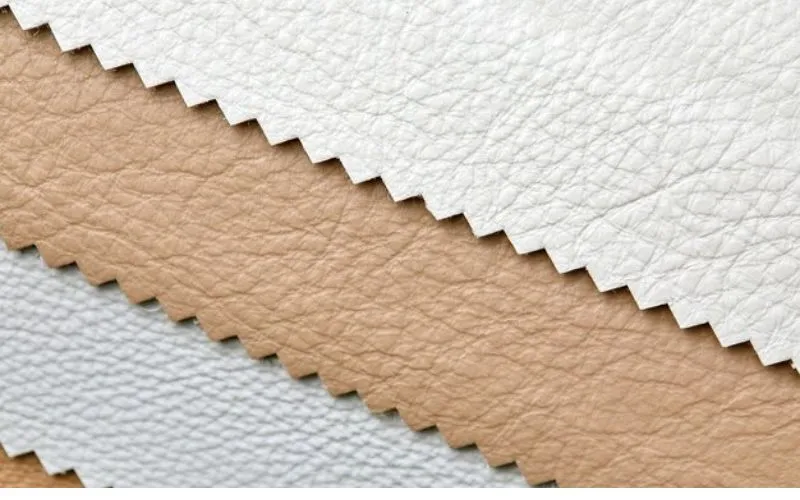
1. Choosing appropriate leather material
| Leather Type | Advantages | Disadvantages | Price Range |
|---|---|---|---|
| Genuine cowhide | Durable, luxurious, gets better with use | Difficult to sew, high price | 800k-1.5M/m² |
| Premium PU leather | Easy to sew, variety of colors, reasonable price | Less durable than genuine leather | 150k-400k/m² |
| Synthetic leather | Good waterproofing, lightweight | Less aesthetic | 100k-250k/m² |
2. List of necessary tools
Basic tools:
- Sewing machine (household or specialized)
- Leather sewing needles size 18-22
- Specialized leather sewing thread
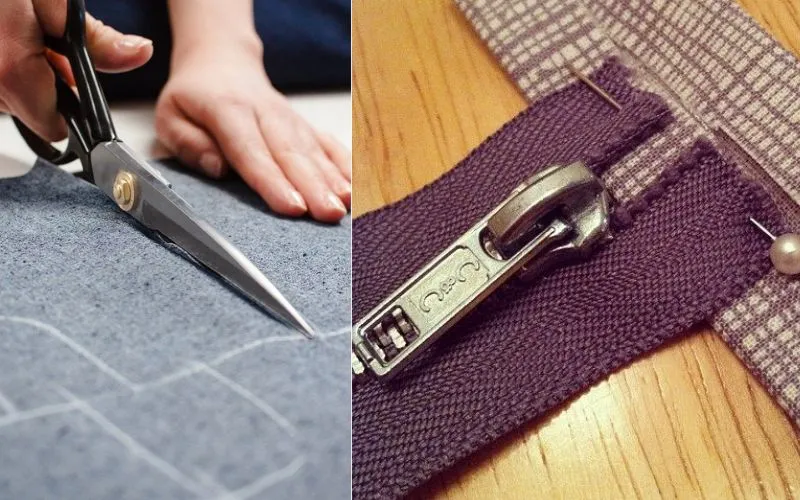
- Sharp fabric scissors
- Measuring tape and ruler
- Pattern drawing pencil
- Specialized leather cutting knife
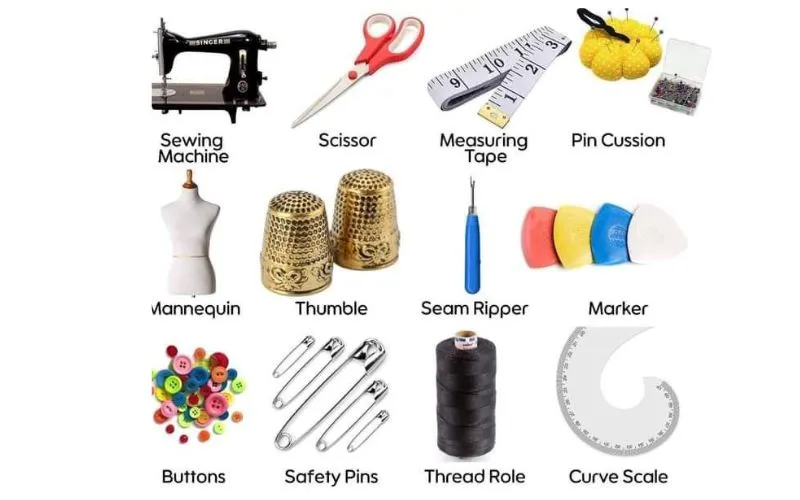
Special accessories:
- Premium YKK zippers
- Durable leather bag straps
- Hook clasps and metal accessories
- Specialized leather glue
- Thick pattern paper
3. Thread, needles and special leather accessories
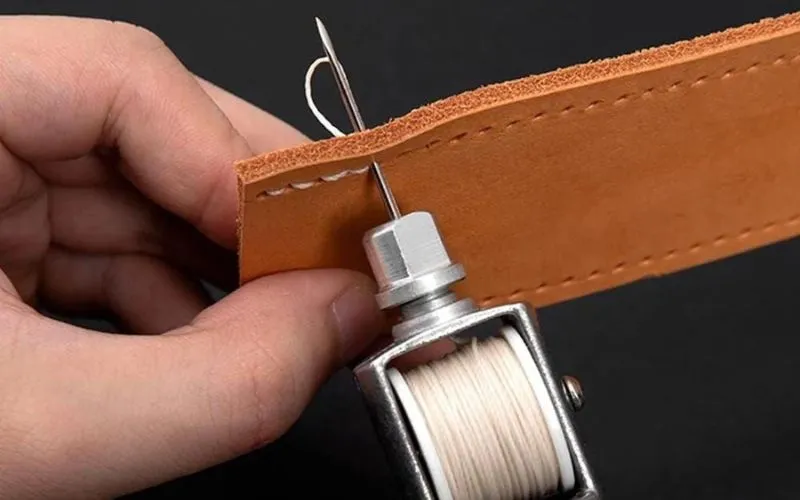
Choose leather sewing needles with sharp points to penetrate leather easily. Use high-durability nylon or polyester thread. Thread color should be similar or harmoniously contrasting with the leather. Hop Phat recommends using brown or black thread for most leather types.
4. Tips for buying quality materials
Check for even leather thickness, no tears or blemishes. Genuine leather has a natural smell, not harsh. Quality PU leather has a smooth surface, doesn’t peel when folded. Buy from reputable stores to ensure consistent quality.
III. Designing and Creating Leather Bag Patterns
Accurate patterns are the foundation for perfect products. How to sew crossbody bags starts with meticulous design.
1. How to measure and calculate dimensions
Standard crossbody bag dimensions:
- Width: 25-30cm
- Height: 20-25cm
- Depth: 8-12cm
- Strap: 120-140cm
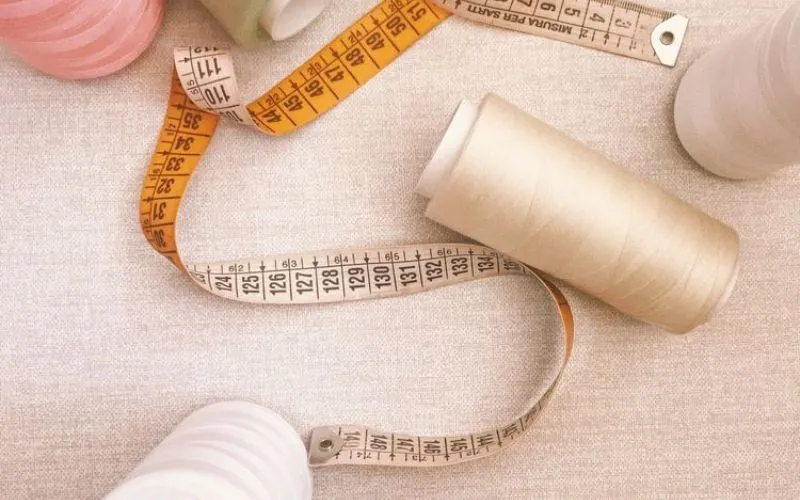
Measure the user’s body shape to adjust appropriate strap length. People 1m60 and taller should use 130-140cm straps.
2. Drawing accurate patterns
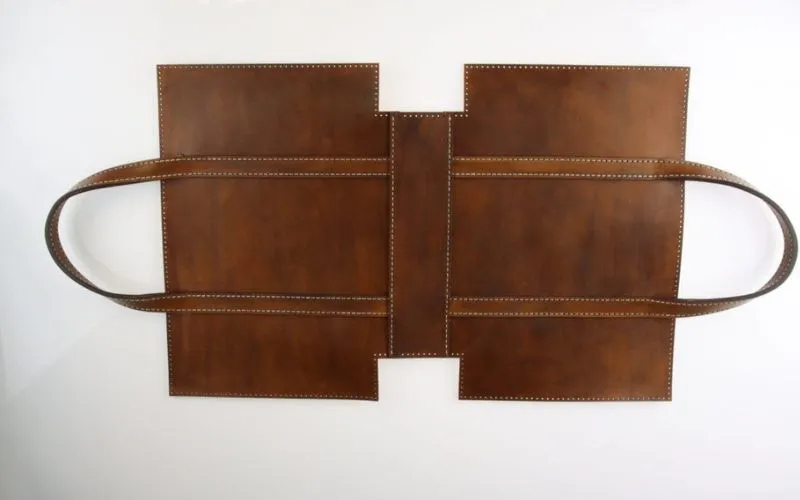
Use thick cardboard or specialized pattern paper. Draw each part separately: front, back, bag bottom, flap (if any). Clearly mark leather grain direction and zipper position. Add 1-1.5cm for seam allowance.

3. Notes on crossbody bag form
Form directly affects aesthetics and practicality. Simple rectangular form suits beginners. Bags with oval bottoms create a softer shape but are harder to sew. Rounded corners help bags last longer and are less likely to tear.
IV. Step-by-Step Process for Sewing Leather Crossbody Bags
This is the core part of how to sew leather crossbody bags. Hop Phat will guide each detailed step.
1. Step 1: Cut leather according to pattern
Place pattern on leather, secure with clips. Use leather cutting knife or sharp scissors to cut along edge. Important note: Cut slowly and accurately, leather cannot be “repaired” like fabric.
Pieces to cut:
- 2 main bag face pieces
- 1 bag bottom piece
- 2 inner lining pieces (if used)
- 1 strap strip (if making yourself)
2. Step 2: Prepare and attach zipper
Choose a zipper 2-3cm longer than bag opening for easy sewing. Place zipper face down on bag opening edge, pin to secure. Sew zipper with stitching 0.7-1cm from edge. Use specialized zipper foot if available.
3. Step 3: Sew bag body and inner lining
Bag body sewing sequence:
- Connect two bag faces with bag bottom
- Sew connecting lines with even stitches
- Turn bag out to check
- Sew inner lining similarly (if any)
- Insert lining into main bag
Professional leather sewing technique: Use moderate pressure, don’t stretch leather when sewing. Slow sewing speed to ensure even stitching.
4. Step 4: Make and attach crossbody strap
How to make strap from leather:
- Cut leather strip 3-4cm wide, 140cm long
- Fold leather strip in half, sew along edge
- Turn inside out so nice side is outside
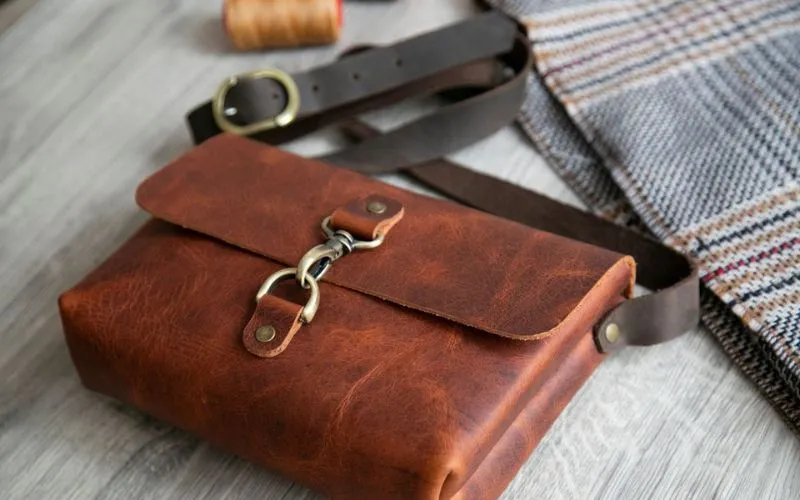
- Attach hook clasps at both strap ends
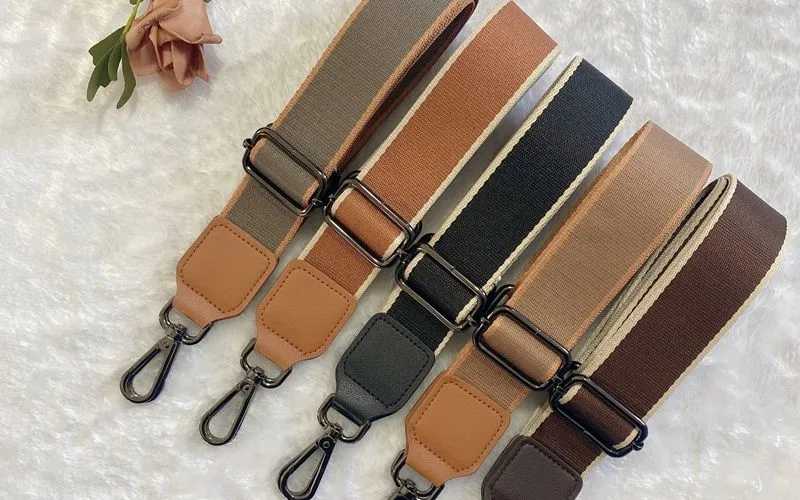
Attaching strap to bag: Place strap at balanced position on both bag sides. Sew securely with X-shaped stitching to increase durability.
5. Step 5: Finish and check quality
Trim excess thread, check all seams. Test zipper operates smoothly. Check strap security. Clean stains on leather with damp cloth.
V. Professional Leather Sewing Techniques
1. How to sew leather without tearing
Use correct size leather sewing needle. Slow, even sewing speed. Don’t stretch leather when sewing. Use leather glue at high-stress areas before sewing.

2. Handling corners and curves
For right angles: Cut diagonally at excess to reduce thickness. For curves: Make small evenly spaced cuts so leather doesn’t wrinkle. Use edge tool (if available) to create beautiful folds.
3. Technique for reinforcing stress points
Strap attachment points, bag corners, zipper edges need special reinforcement. Sew triangles or X shapes at these points. Use extra leather layer on inside to increase durability.

VI. Decorating and Personalizing Leather Bags
1. Simple decoration methods
Decoration with sewing thread: Use contrasting color thread to create prominent edges. Sew zigzag or straight decorative lines on bag face.
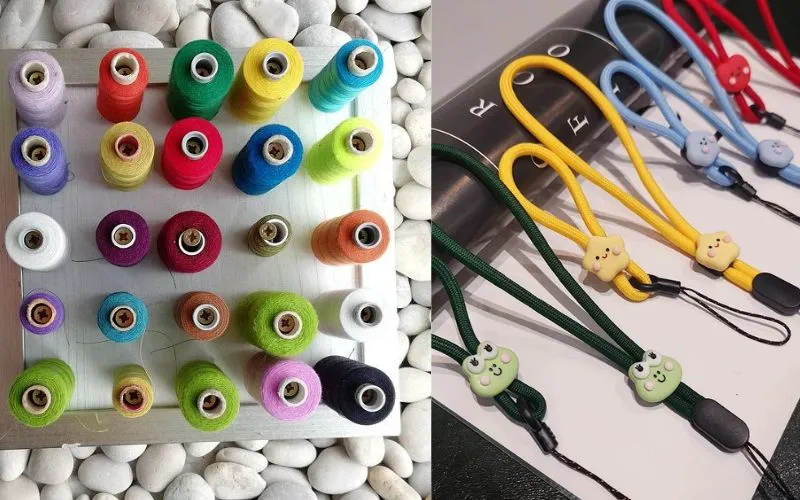
Decoration with accessories: Attach metal snap buttons, decorative metal rings. Add small exterior pocket to increase practicality.
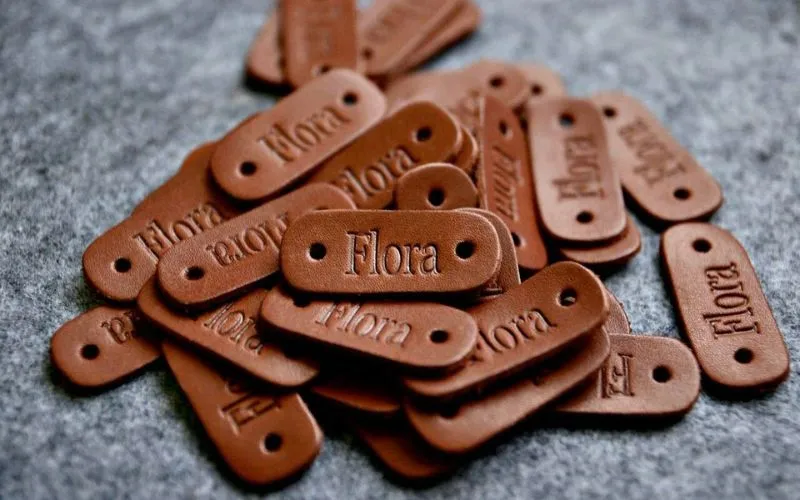
2. Embroidering names and patterns on leather
Use embroidery machine or hand embroidery with thick thread. Simple design, not too complex. Embroidery position usually at lower corner of bag face or on flap.
3. Matching strap and accessory colors
Color matching principles: Same color tone for harmony, contrast for prominence. Brown leather combined with black strap is very classic. Black leather combined with silver or gold brass accessories creates focal points.
