

 Tiếng Việt
Crossbody bags are one of the most beloved accessories, especially among women. That is probably why how to sew a mini multi-compartment crossbody bag at home has been one of the most searched topics recently. With over 20 years of experience in sewing backpacks and bags, in the short article below, Hop Phat will guide you through how to sew a multi-compartment crossbody bag at home in the simplest way possible — guaranteed that anyone can do it, even if you are not naturally handy. Let’s get started!
Preparing Materials for the Multi-Compartment Crossbody Bag
Just like sewing a backpack or any other bag, before getting started on sewing a multi-compartment crossbody bag, we need to prepare the necessary materials and accessories.
To create a truly one-of-a-kind multi-compartment crossbody bag, you should visit reputable fabric stores to select your materials. For how to sew a multi-compartment crossbody bag, you will need to prepare the following materials:
- Main fabric panel
- Adhesive interfacing (fusible fleece)
- Crossbody strap
- Magnetic snap button
- Seam ripper / buttonhole awl
- Needle, thread, etc.
Step-by-Step Guide: How to Sew a Multi-Compartment Crossbody Bag at Home
Once all materials are prepared, let’s get to work. Before starting, you need to cut the adhesive interfacing and 4 card-slot divider panels to the size that suits your preference. Then follow the steps below in order.
Step 1:
Iron the adhesive interfacing onto the back side of the main fabric panel. Then use scissors to cut approximately 1 cm away from the interfacing edge — this will serve as the seam allowance.

Next, cut an additional main fabric panel equal in size to the one with the interfacing attached.
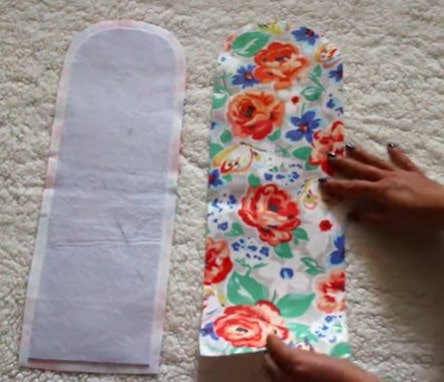
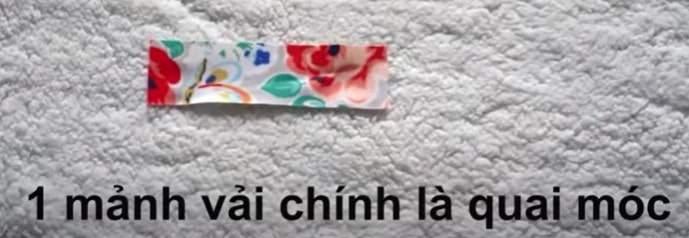
Then cut one bag divider panel and one main fabric piece for the hook loop strap.
Step 2: Let’s Start Sewing!
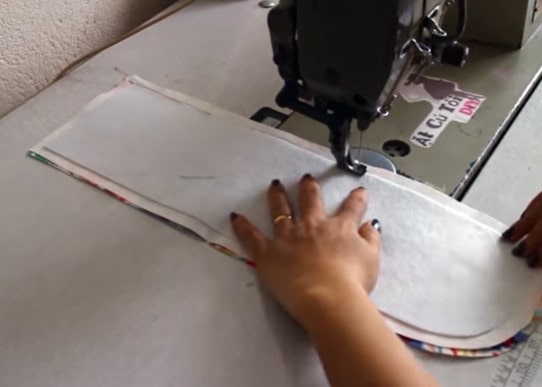
First, place the right sides of the two bag body panels together, then sew along the seam line set back from the interfacing edges that were left open earlier.

After sewing, use scissors to clip the curved areas of the seam allowance so that when the bag is turned right side out, those curved spots do not bunch or pucker.

Then trim the curved seam allowance a little closer to allow the bag to turn right side out more easily and look neater.

Next, turn the bag right side out. Then fold the 4 card-slot divider pieces and sew each one approximately 0.5 cm from the folded edge.

At the same time, topstitch one edge.

For the strap fabric piece, fold it into quarters, then topstitch both edges and cut in half.

Next, place the sub-compartment divider panel onto the bag body and use chalk to mark both ends. Then use the seam ripper / buttonhole awl to slit exactly along the marked section on both seam lines of the bag.
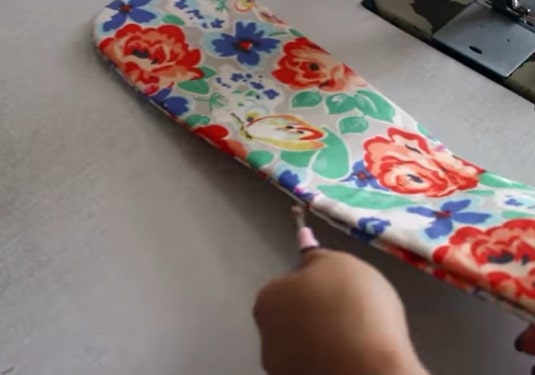
Then thread the four sub-compartment divider panels through as shown.

Next, to secure the four sub-compartment divider panels in place, topstitch one line all around the bag approximately 0.5 cm from the edge.
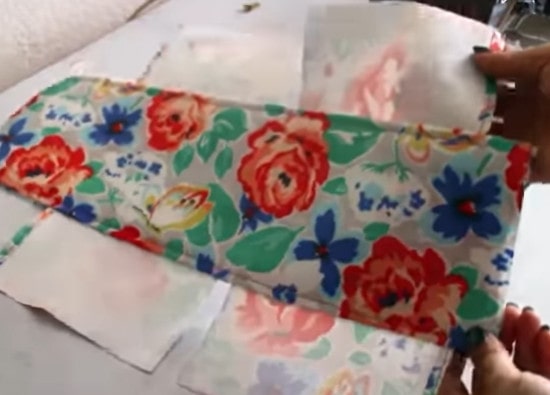
Then attach the magnetic snap button inside the bag body. To install the magnetic snap, you will need to use the seam ripper. Make a small slit in the center of the front bag body, and insert the two prongs of the snap through the opening (as illustrated above).

Attach the two strap fabric pieces to the bag body and sew them securely in place.

Then fold the remaining open edge of the bag body and sew it closed.

For the bag divider panel, fold and sew a 0.5 cm hem all around, then attach it to the card-slot divider as shown above.

Finally, simply hook the crossbody strap onto the bag and you are done!

And there you have it — once finished, your completed product will look like this, or even more beautiful!
Closing Note
And that wraps up our sharing of how to sew a multi-compartment crossbody bag at home in the simplest way possible. It is not too difficult, is it? We believe that with just a little skill, a little care, and some time, you can absolutely sew yourself a beautiful crossbody bag based on your own ideas. Best of luck to you!