

 Tiếng Việt
In an era where camping and outdoor activities have become a trend, owning a quality camping tent is no longer a luxury. However, instead of investing millions of dong in a commercial tent, why not create your own product perfectly suited to your needs? Hop Phat Tent Manufacturing will guide you through exploring the world of tent sewing techniques from basic to advanced, helping you create unique and durable outdoor gear products.
I. Why Should You Sew Your Own Camping Tent?
Sewing your own camping tent is not just a hobby, but a practical skill that brings many significant benefits. First, economically, you can save 60-70% of the cost compared to buying a commercial tent of the same quality. A 2-person tent sewn by yourself only costs about 500,000-800,000 VND, while an equivalent product on the market costs 2-3 million dong.
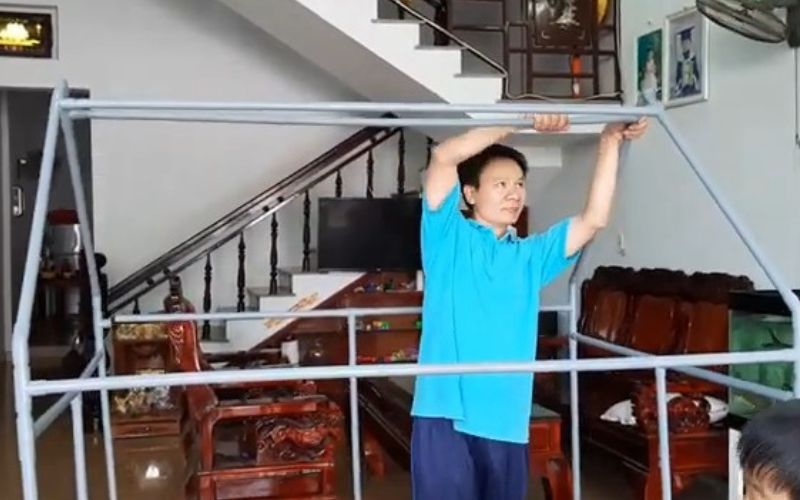
Moreover, DIY camping gear allows you to completely customize according to personal needs. Do you want a tent with extra storage pockets inside? Or need a special ventilation system? Everything can be done when you are the designer and manufacturer.
Superior quality is another advantage that cannot be overlooked. When sewing yourself, you control every detail, from choosing high-quality waterproof fabric to sturdy sewing techniques. This ensures the final product is much more durable than cheap tents on the market.
II. Preparing Tools and Materials for Tent Sewing
1. Choosing Suitable Tent Fabric
Choosing tent fabric plays a decisive role in the quality of the final product. Nylon ripstop 20D-40D is the top choice for those who prioritize light weight. This fabric has a special reinforced mesh structure, preventing tears from spreading, while being extremely lightweight, suitable for backpacking.
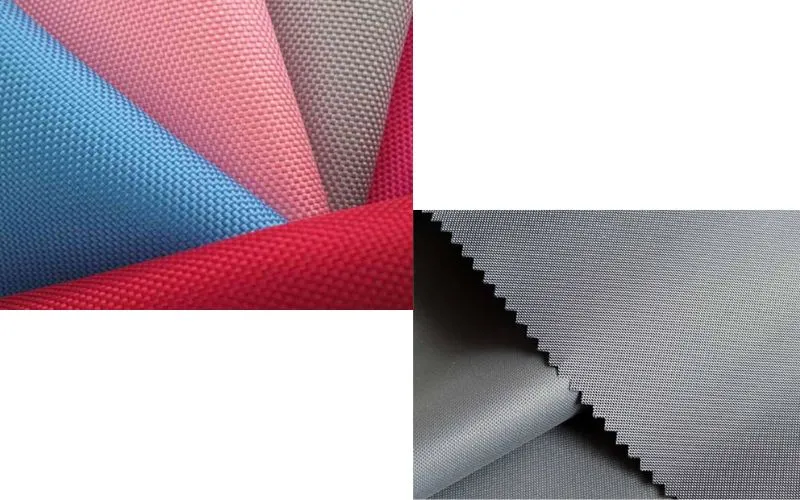
Oxford fabric 210D is the optimal choice for high durability. With its tightly woven structure and superior thickness, this fabric can withstand harsh weather conditions, suitable for long camping trips.
Particularly important is the PU coating layer with a waterproof rating from 2000mm and above. This rating ensures the tent can withstand heavy rain for long periods without water seepage.
2. Necessary Sewing Tools
Sewing machine is the heart of the entire process. An industrial sewing machine or high-power domestic sewing machine is necessary to handle thick fabrics. May Hop Phat recommends using machines capable of zigzag and overlock stitching to create sturdy seams.
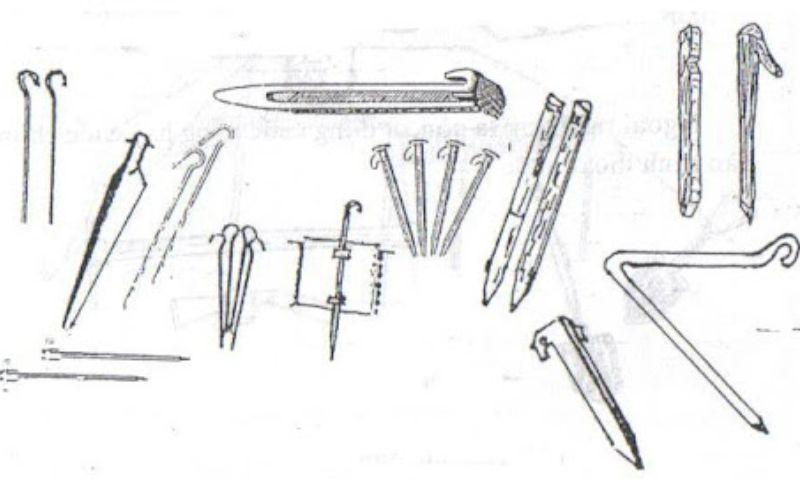
Specialized sewing needles size 90-110 suitable for thick fabrics, along with polyester thread with UV and moisture resistance. These small accessories, though inexpensive, greatly affect the quality of the final product.
III. Common Tent Types and Sewing Techniques
1. A-Frame Tent
A-frame tent is the ideal choice for beginners learning tent sewing techniques. Simple structure with two triangular faces forming an A-shape, this tent type is easy to design and easy to sew.

Advantages of A-frame tents include high stability in strong winds, good rainwater drainage thanks to steep slope, and especially easy to set up when camping. The main disadvantage is limited interior space, especially on both sides.
2. Dome Tent
Dome tent has a more complex structure with curved frames forming a dome shape. This tent type optimizes usable space and has good wind resistance thanks to aerodynamic design.

Curved sewing technique is the biggest challenge when making dome tents. You need to accurately calculate the curvature and use special joining techniques to ensure fabric panels fit together perfectly.
3. Tunnel Tent
Tunnel tent is designed with multiple parallel arches, creating spacious interior like a tunnel. This tent type is suitable for families or large groups.

Smart design of tunnel tents allows division into multiple separate compartments, with effective ventilation system thanks to natural chimney effect.
IV. Step-by-Step Guide to Making A-Frame Tent
1. Design and Size Calculation
Before starting to sew, detailed design is an indispensable step. May Hop Phat recommends creating a 1:10 scale drawing first, then converting to actual size.

Fabric area calculation formula: Area = (Length × Width × 2) + (Height × Width × 2) + 20% reserve. Reserving 20% fabric helps you have enough material for details like edges, folds, and error correction.
2. Fabric Cutting and Detail Preparation
Accurate fabric cutting technique requires high meticulousness. Use metal rulers and specialized cutting knives to ensure straight edges and precise right angles.
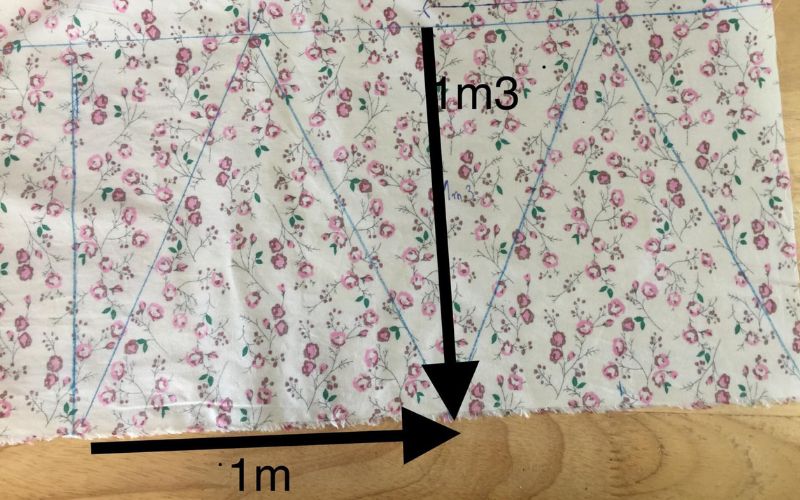
Edge treatment by gentle heating (for nylon fabric) or using anti-fray glue to prevent fabric fraying. This step, though simple, greatly affects the long-term durability of the product.
3. Basic Sewing Techniques
Main Seam
Flat-felled seam is the strongest sewing technique for camping tents. This seam type creates two layers of fabric overlapping, stitched tightly from both sides, ensuring superior durability and good waterproofing.

French seam provides a beautifully finished appearance with fabric edges completely hidden inside. This technique is suitable for parts that don’t bear large tension.
Zipper Installation
Waterproof zipper is an important detail that determines tent convenience. May Hop Phat recommends using zippers with rubber flaps and corrosion-resistant plastic teeth.
Professional zipper sewing technique requires high precision. Must ensure the zipper is sewn straight, not wrinkled, and has a waterproof cover flap on the outside.
V. Advanced Sewing Techniques
1. Seam Sealing
Seam sealing is an important step to ensure the tent is truly 100% waterproof. Using specialized seam sealant, you need to apply evenly on all seams from the inside of the tent.
Even and effective application technique requires you to work in dry conditions, stable temperature. Sealant needs to be applied thinly and evenly, avoiding creating thick streaks that may peel later.
2. Creating Waterproof Liner (Bathtub Floor)
Bathtub floor is a tent floor design with edges curving upward, forming a mini bathtub shape, preventing water from the ground from seeping into the tent. Professional right-angle sewing technique is the key to creating smooth and sturdy curved corners.

3. Ventilation System
Reasonable vent design is a determining factor for comfort when using the tent. Vents should be placed in positions that create convection airflow, usually at the head and tail of the tent.
Mosquito net sewing requires special technique because the material is thin and easily torn. Use thin thread and adjust sewing machine tension to avoid damaging the net.
VI. Tips and Tricks from Experts
Proper tent storage helps significantly extend product lifespan. Always ensure the tent is completely dry before storage, avoid folding at fixed positions to not create permanent creases.
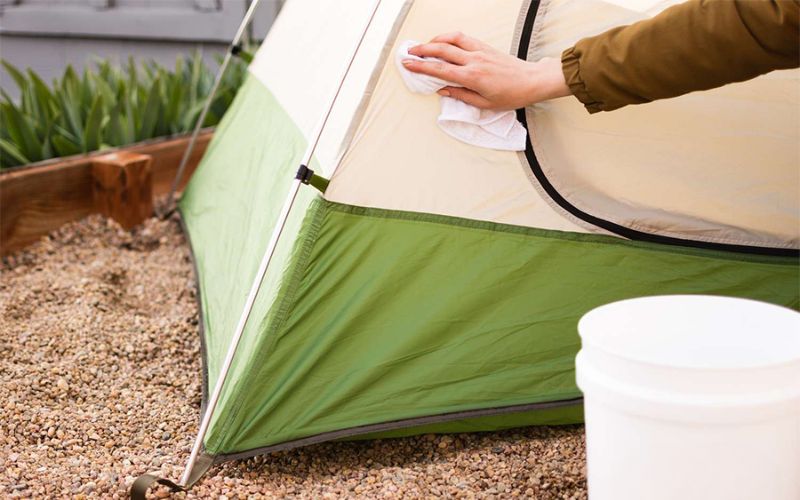
Small home repairs are necessary skills for every tent user. Prepare specialized repair tape, small patches, and some seam sealant to handle small incidents immediately.
Upgrading and customizing the tent over time helps you get the most perfect product. Can add interior storage pockets, install integrated LED lights, or create extended awning according to needs.
Thus, learning about tent sewing techniques not only helps you be more confident when repairing yourself, but is also the key to choosing quality products. A sturdy tent with good waterproofing is always a reliable companion on every journey. If you are looking for high-quality camping tents, manufactured with advanced techniques, contact us immediately for consultation and to own the best products.