

 Tiếng Việt
Through the following key points, May Hop Phat provides detailed instructions on how to sew school backpack from A-Z, including selecting appropriate fabrics, preparing necessary tools, and 5 simple sewing steps. With only 100-200 thousand VND for materials and 3-4 hours of execution, you will create a quality, durable, and beautiful backpack for the new school year.
I. Benefits of Self-Sewing Backpack
Self-sewing school backpack brings many wonderful benefits that you might not have thought of:
- Cost savings – Only 100-200 thousand VND for materials
- Express personality – Designed according to personal preferences
- Appropriate size – Customized according to usage needs
- Skill development – Train dexterity and meticulousness
- Meaningful gift – Give to friends or relatives
1. Required Skills and How to Develop Them
Don’t worry if you’ve never held needle and thread! To sew a beautiful backpack, you only need these basic skills:

- Cutting fabric according to pattern
- Sewing straight lines
- Installing simple zippers
- Size calculation
Small tip: Start with simple patterns before trying complex styles!
II. Preparing Materials and Tools
1. Suitable Fabric Types for Sewing Backpack
Choosing the right fabric will determine 70% of your backpack’s durability. Below are the most popular choices:
| Fabric Type | Advantages | Disadvantages | Reference Price |
|---|---|---|---|
| Canvas fabric | Durable, sturdy, easy to sew | Somewhat heavy | 70-150k/m |
| Plain weave fabric | Soft, many colors | Easy to wrinkle | 50-100k/m |
| Nylon fabric | Good waterproofing | Difficult to sew | 60-120k/m |
| Denim fabric | Distinctive, durable | Quite thick | 80-150k/m |
| Cotton fabric | Many beautiful patterns | Less durable | 40-90k/m |
Advice from experienced people: If you’re just starting out, choose canvas or plain weave fabric because they’re easy to handle and don’t slip when sewing.
2. Necessary Tools
To make your backpack sewing journey go smoothly, prepare these essential tools:
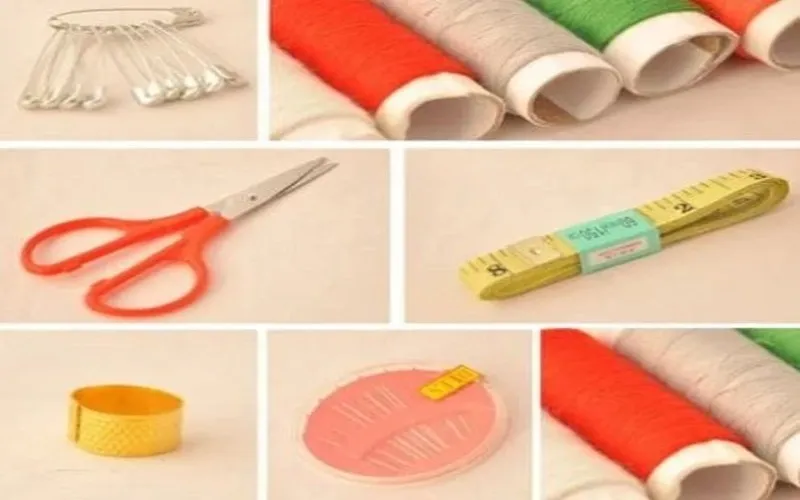
- Sewing machine (or needle and thread if hand sewing)
- Sharp fabric scissors
- Needles and thread suitable for fabric type
- Accurate measuring tape
- Sewing chalk or fabric marking pen
- Pins to secure fabric
- Iron to press flat the seams
3. Finishing Accessories
These small details will make the difference for your backpack:
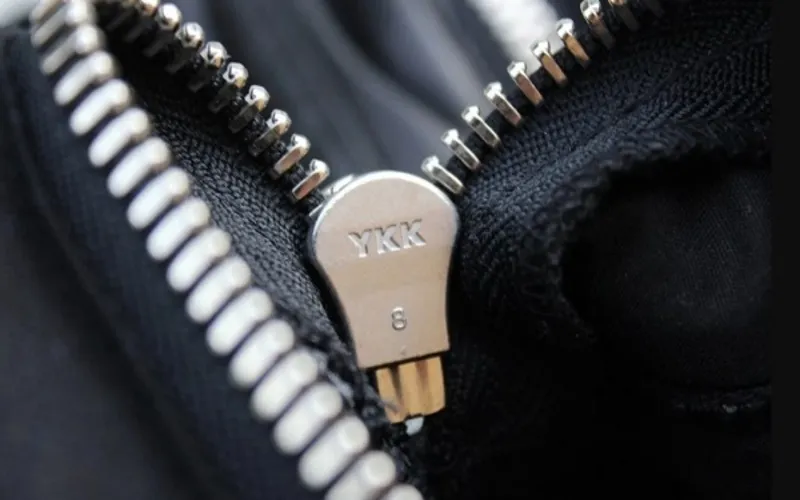
- Sturdy zipper (should choose 2-way type for backpack)
- High durability straps (polyester webbing is a good choice)
- Buckles for straps
- Snap buttons or magnetic clasps
- Lining fabric for inside backpack
III. Instructions for Pattern Making
1. How to Measure Appropriate Size
Size is the most important factor when designing backpack. Consider:
- Height: Usually 40-45cm for adults, 35-40cm for children
- Width: About 30-35cm is suitable for most users
- Depth: 12-18cm depending on storage needs
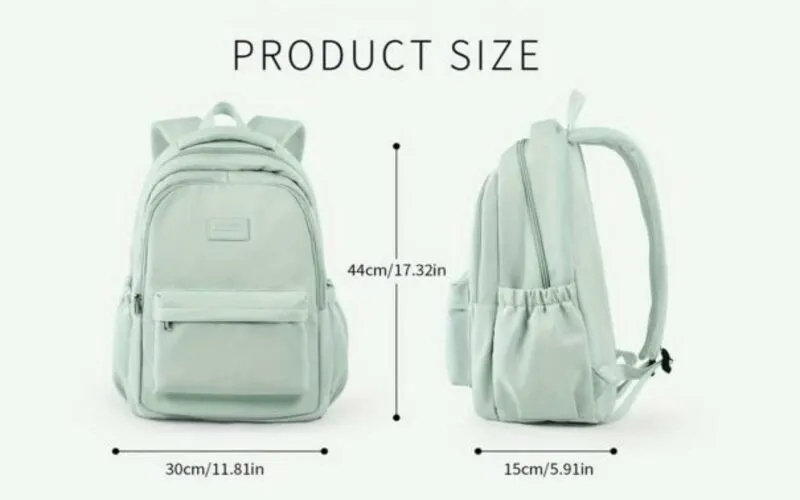
Useful tip: Measure a backpack you currently have and love to get the most accurate reference size!
2. Drawing and Cutting Basic Pattern
This step requires meticulousness and accuracy. Follow these steps:
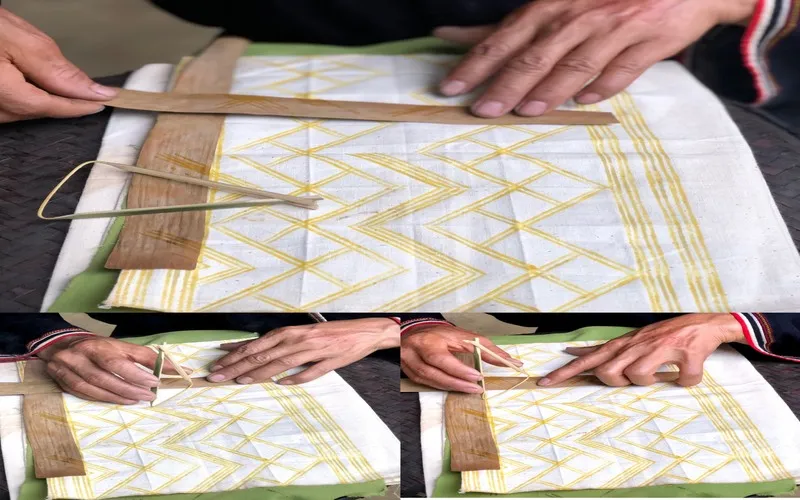
- Draw rectangles for front and back panels (measured dimensions)
- Draw rectangle for backpack bottom (width × depth)
- Draw two pieces for both sides (height × depth)
- Design side pocket (if any)
- Design strap (usually 60-70cm long, 5-7cm wide)
3. Customizing Pattern According to Preference
This is when to express your personality! Some customization ideas:
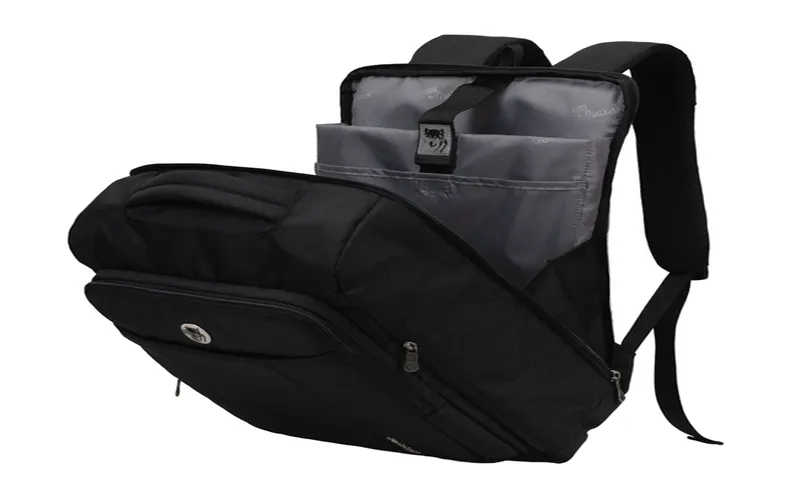
- Add padded laptop compartment
- Design side pockets in multiple sizes
- Create secret compartment inside
- Adjust shape to round or square backpack style
Learn more:
- How parents can sew backpacks for children from kindergarten and elementary school age at home
- How to sew mini backpack for energetic teenage girls
- If you need to manufacture student backpacks in large quantities, you can refer to Hop Phat’s sewing service
IV. Detailed Instructions on How to Sew School Backpack Basics
Step 1: Prepare and Cut Fabric According to Pattern
After having the pattern, proceed to cut fabric carefully and accurately:
- Place pattern on fabric and use sewing chalk to draw along outline
- Leave about 1-1.5cm for seam allowance
- Cut along drawn line with sharp scissors
- Mark positions for zipper placement, side pockets
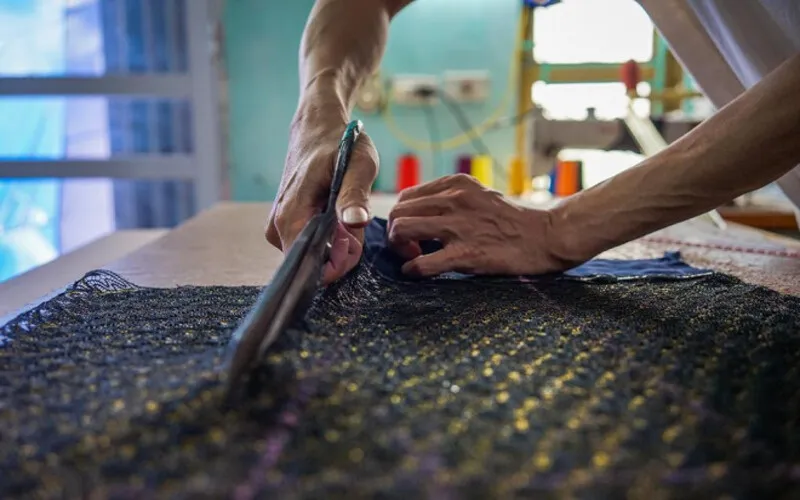
Important note: If using patterned fabric, pay attention to pattern direction when cutting!
Step 2: Sew Main Body of Backpack
This is the most important part in the backpack sewing process:
- Join two side panels to back panel of backpack
- Attach backpack bottom to sewn assembly
- Finally, attach front panel, leaving top open for zipper
- Sew edge seams to increase sturdiness
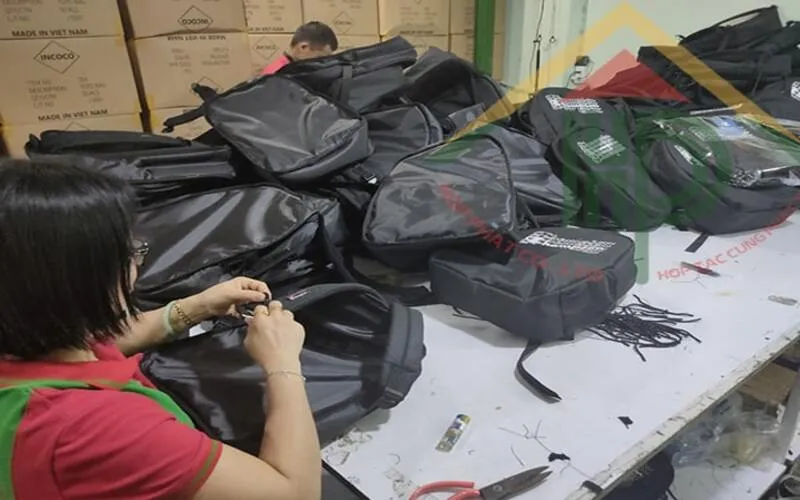
Tip for beginners: Use pins to secure fabric before sewing will help you sew straighter lines.
Step 3: Make Side Pockets and Compartments
Sewing the main body of backpack will make your backpack much more practical:
- Outer pocket: Sew before attaching to main body
- Inner compartments: Can make from mesh fabric or thinner fabric
- Laptop padded compartment: Add foam or thick felt as padding layer
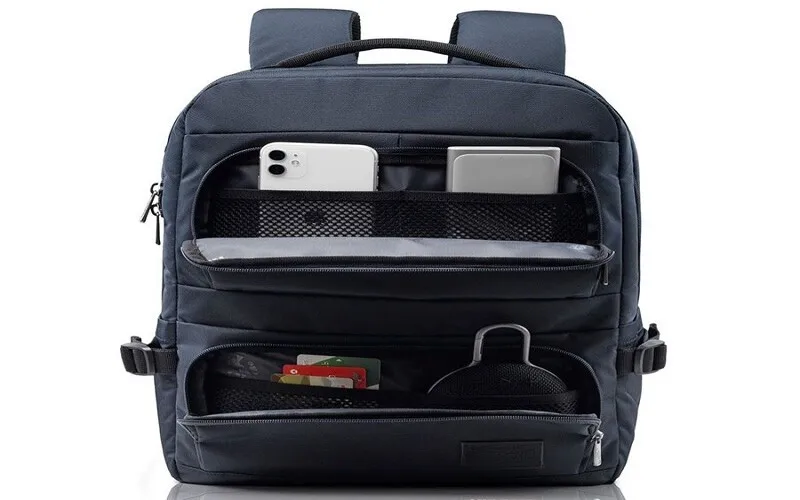
Ensure sturdy sewing at pocket corners as these are high stress points.
Step 4: Install Zipper
Proper zipper installation will determine the backpack’s durability and beauty:
- Place zipper face down along backpack opening
- Pin securely
- Sew from both ends toward center
- Check zipper runs smoothly
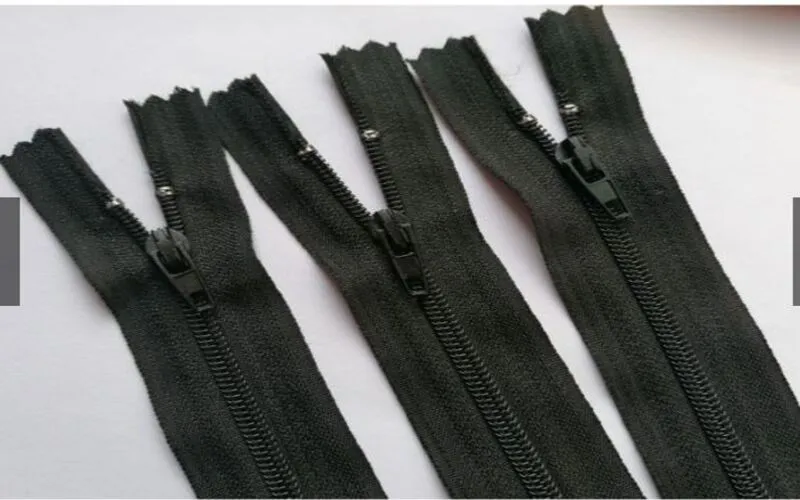
Note: Should choose zipper about 2-3cm longer than backpack opening, then trim excess and finish zipper ends.
Step 5: Make and Attach Straps
Sturdy straps are the factor determining comfort when using backpack:
- Cut two fabric strips about 60-70cm long, 5-7cm wide
- Fold in half lengthwise and sew to create sturdy strap
- Turn strap inside out and iron flat
- Attach strap to top and bottom of back panel
- Sew securely with X-shaped or square stitching
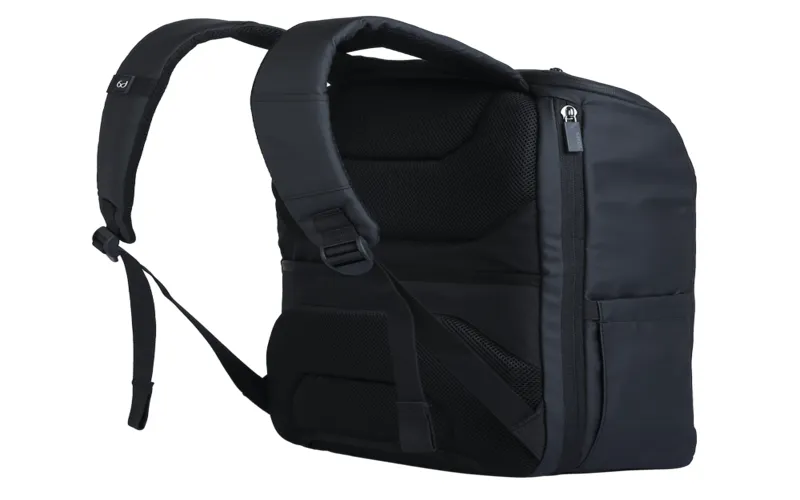
Tip for increasing durability: Reinforce strap attachment point by padding a thick fabric piece inside.
Step 6: Finish and Decorate Backpack
These small details will create a big difference:
- Check and trim excess threads
- Process fabric edges by sewing hems or using pinking shears
- Decorate with badges, embroidered names, buttons…
- Recheck all seams

Reminder: Don’t forget to check sturdiness of seams, especially at backpack bottom and strap attachment points!
V. 5 Beautiful Easy-to-Make School Backpack Designs
Design 1: Simple Backpack for Elementary Students
Compact and colorful backpack suitable for young children:
- Size: 35cm high, 25cm wide, 12cm deep
- Material: Canvas or stiff cotton with fun patterns
- Features: Wide padded straps, easy-access outer pocket
- Production time: About 3-4 hours

Decoration tip: Add favorite cartoon characters by embroidery or drawing!
Design 2: Dynamic Backpack for Middle School Students
Distinctive and practical backpack design for teenagers:
- Size: 40cm high, 30cm wide, 15cm deep
- Material: Denim or plain weave fabric
- Features: Multiple side pockets, reinforced backpack bottom
- Highlight: Combine multiple fabric colors to create accents

Design 3: Multi-functional Backpack for College Students
Smart backpack for those who need to carry many items:
- Size: 45cm high, 32cm wide, 18cm deep
- Material: Thick canvas or nylon fabric
- Features:
- Padded laptop compartment
- Water bottle pocket
- Secure compartment for valuables
- Ergonomic straps
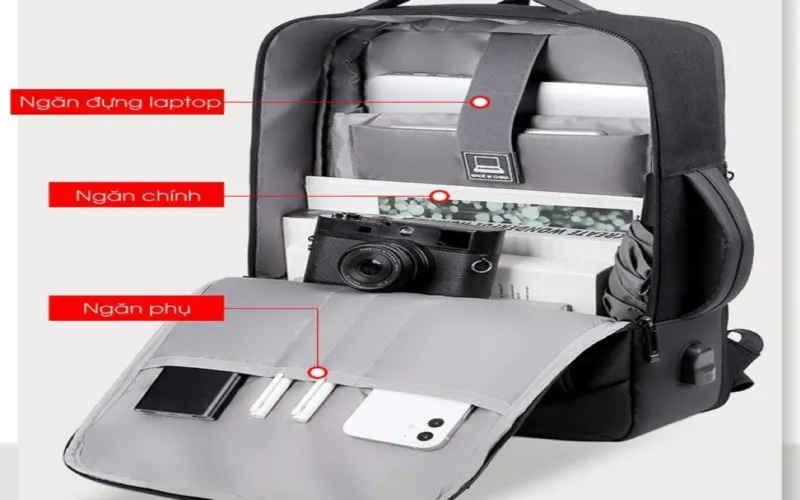
Advice: Should use waterproof lining for laptop compartment!
Design 4: Cute Mini Backpack
Small and cute backpack design suitable for carrying few items:
- Size: 30cm high, 25cm wide, 10cm deep
- Material: Patterned cotton or velvet fabric
- Features: Round shape, brightly colored zipper
- Decoration method: Add bows, buttons, or small charms

Design 5: Laptop Backpack with Protective Padding
A specialized design for protecting laptop:
- Size: 42cm high, 32cm wide, 15cm deep
- Material: Thick canvas combined with waterproof nylon
- Features:
- 2cm thick foam padding compartment
- Waterproof zipper
- Specially reinforced backpack bottom
- Wide padded shoulder straps for comfort

VI. Tips and Notes When Self-Sewing Backpack
1. How to Handle Common Difficulties
Sewing backpack may encounter some challenges but all have solutions:
| Problem | Solution |
|---|---|
| Fabric slips when sewing | Use pins or paper clips to secure, or use masking tape |
| Zipper not straight | Pin before sewing, sew in short sections |
| Uneven seam lines | Readjust thread tension, use needle suitable for fabric |
| Sewing multiple thick fabric layers | Use large needle, reduce sewing machine speed |
| Edge not beautiful | Iron flat before sewing edge, use specialized presser foot |
2. Tips to Make Backpack More Durable and Beautiful
These small secrets help your backpack become as durable and beautiful as store-bought:
- Reinforce backpack bottom by sewing two fabric layers or adding stiff padding
- Sew inner seams to hide seams and increase durability
- Process fabric edges with serger or pinking shears
- Strengthen strap attachment points with square or X-shaped stitching
- Choose good quality thread suitable for fabric

3. How to Sew Backpack Without Sewing Machine
Don’t have a sewing machine? Don’t worry! You can still do it:
- Use fabric glue (should choose specialized type)
- Use hand sewing needle and thread with backstitch for sturdy seams
- Utilize double-sided tape for fabric to secure before sewing
- Apply no-sew fabric joining technique by folding edges and gluing
- Use ties instead of sewing for some details
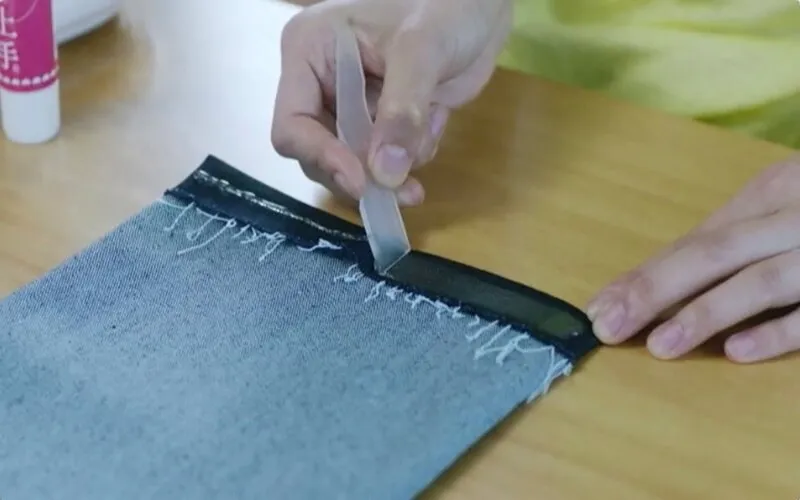
Good tip: For long straight lines, you can use paper clips to secure fabric and sew in short sections.
VII. How to Decorate and Personalize Handmade Backpack
1. Creative Decoration Ideas
Make your backpack become unique with these ideas:
- Fabric patches – Can buy or make yourself from leftover fabric
- Decorative buttons – Various colors and shapes
- Ribbons – Create color accents
- Small charms – Attach to zipper
- Metal frames – Create sturdiness and elegance
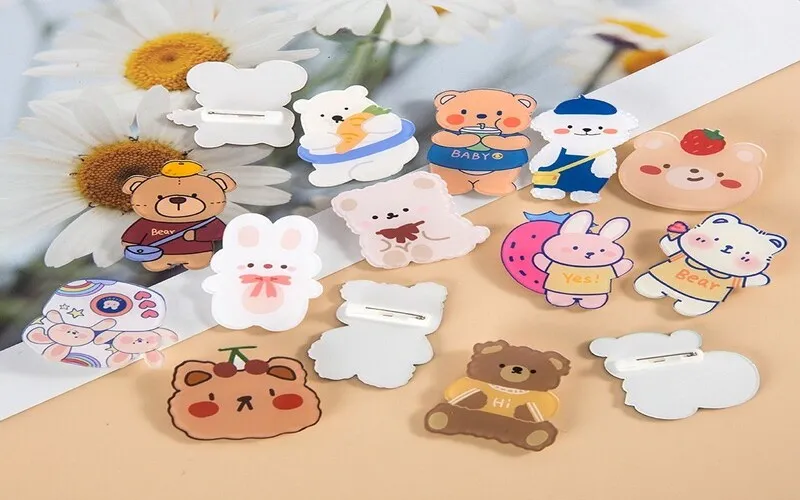
Sharing from experienced person: Don’t over-decorate, sometimes simplicity creates subtle beauty!
2. Embroidery and Drawing Techniques on Backpack
These handmade accents will make your backpack special:

- Hand embroidery – Embroider names, symbols or simple patterns
- Drawing with fabric pen – Draw images as desired (remember to iron to fix color)
- Stencil technique – Use pre-cut templates and fabric paint
- Raised fabric appliqué – Create 3D shape by layering fabrics
- Tie-dye – Dye fabric to create color gradient effect
3. Attaching Decorative Accessories
These small accessories can bring big differences:
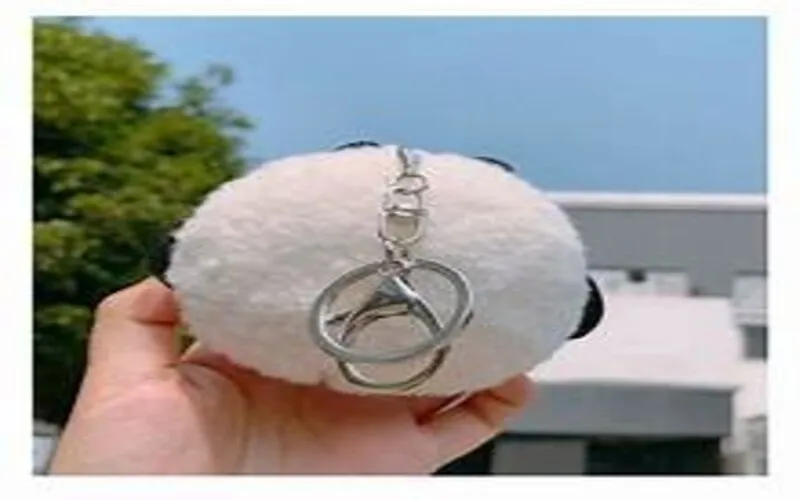
- Keychain or charm attached to zipper
- Fabric bow decorating side pocket
- Sequins or glitter creating sparkling accents
- Braided paracord decorating straps
- Magnetic clasp decoration instead of regular clasp
Useful tip: Choose accessories suitable for fabric material. For example, thin fabric is not suitable for heavy accessories!
After learning in detail about how to sew school backpack, you’re ready to start this meaningful handmade project. From choosing suitable fabric to basic sewing techniques, the article has provided all necessary knowledge. Try applying May Hop Phat’s instructions today to create unique products for the new school year! Share your results in the comments section.