

 Tiếng Việt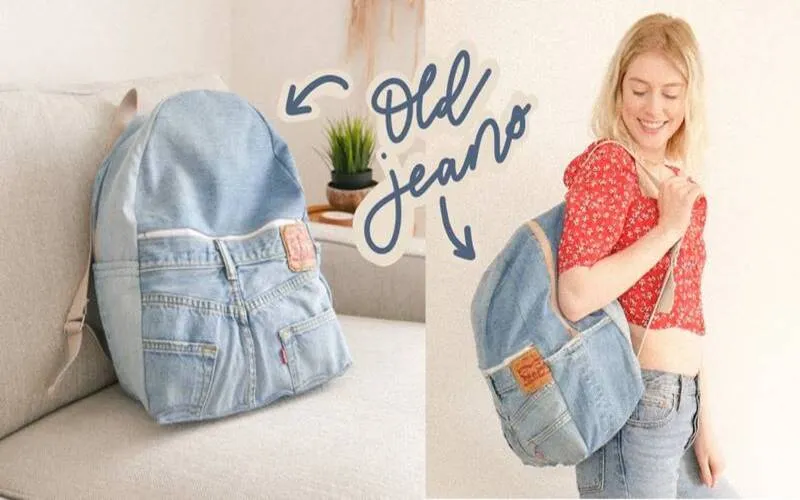
May Hop Phat shares how to sew a mini backpack that is both unique and suitable for your style, allowing you to make your own mini backpack at home to get a satisfactory product while bringing unparalleled creative joy.
I. Prepare Materials and Tools
Before starting how to sew a school backpack mini, you need to prepare all necessary materials and tools. This helps the sewing process go smoothly without interruption.
1. Suitable Fabric Types for Sewing Mini Backpacks
| Fabric Type | Characteristics | Advantages | Sewing Difficulty |
|---|---|---|---|
| Canvas fabric | Thick, durable, firm | Good shape retention, light water resistance | Medium |
| Denim fabric | Durable, fashionable | Stylish, easy to match | Medium-Difficult |
| Simili fabric | Faux leather, shiny | Luxurious, easy to clean | Difficult |
| Cotton fabric | Soft, many patterns | Breathable, easy to sew | Easy |
For beginners, I recommend choosing canvas fabric or cotton fabric because they’re easy to handle and less slippery when sewing.
2. Necessary Tools
Basic tools:
- Sewing machine (or needle and thread for hand sewing)
- Sharp fabric scissors
- Measuring tape and ruler
- Tailor’s chalk or fabric marking pen
- Quality needles and backpack sewing thread
- Pins
- Iron
Accessories (optional):
- Zipper (15-25cm)
- Key hooks, magnetic clasps
- Webbing, plastic adjustment buckles
- Lining fabric
- Decorative accessories
II. Guide to Drawing Mini Backpack Patterns
To create a well-formed mini backpack, drawing the pattern is a crucial step that cannot be skipped.
1. How to Calculate Standard Dimensions
Standard dimensions for a mini backpack typically fall within:
- Height: 20-25cm
- Width: 15-20cm
- Depth: 5-10cm

You can adjust these numbers according to usage needs. Remember to add seam allowance about 1-1.5cm for each edge.
2. Drawing Pattern for Backpack Body
- Draw front/back panels: Rectangle with chosen dimensions
- Draw bottom: Rectangle with width equal to body width, length equal to depth
- Draw two sides: Rectangle with height equal to body height, width equal to depth
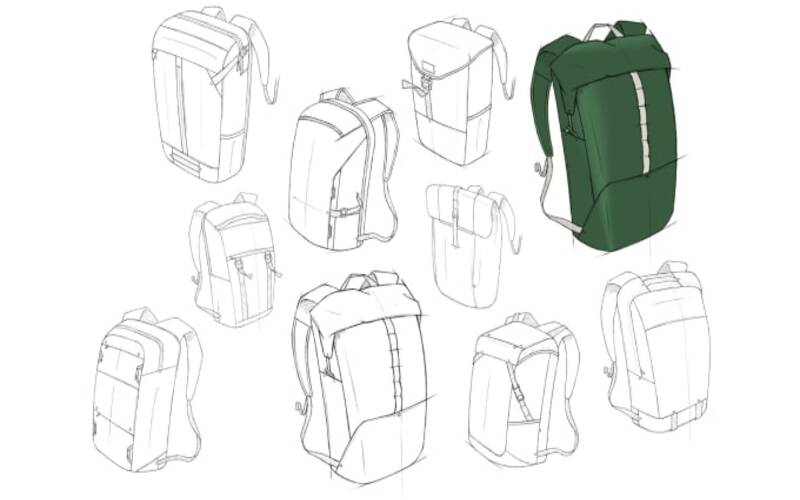
Small tip: Draw the pattern on newspaper or kraft paper first, then try assembling to check dimensions before cutting fabric.
3. Drawing Pattern for Straps and Flap
- Straps: Draw rectangle 60-70cm long, 5-7cm wide (after folding in half will be 2.5-3.5cm)
- Flap: Draw rectangle or semi-circle with width equal to front panel, height about 1/3 of front panel height
III. Basic Mini Backpack Sewing Method – Model 1
Now it’s time to start the most basic mini backpack sewing method – a simple backpack suitable for beginners.
1. Cutting Fabric According to Pattern
- Place pattern on fabric
- Use tailor’s chalk or pen to draw contours
- Cut carefully along drawn lines
- Remember to mark important points
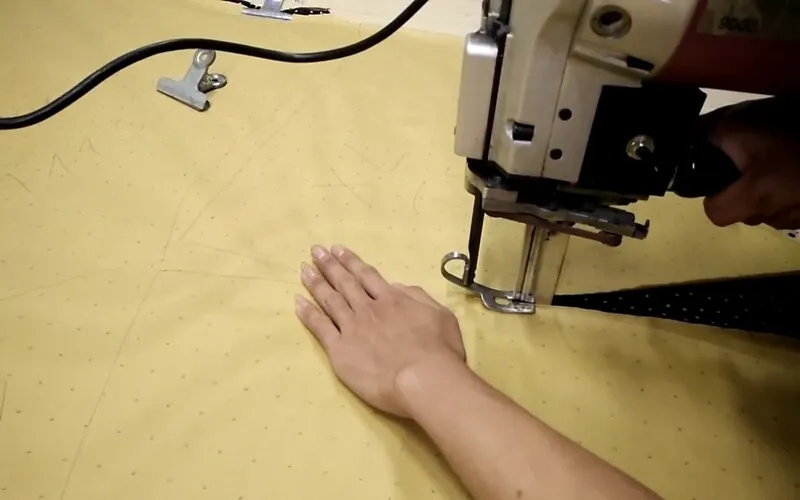
Need to cut:
- 1 front panel
- 1 back panel
- 2 side pieces
- 1 bottom
- 2 straps
- 1 flap (depending on design)
- Corresponding lining pieces (if any)
2. Sewing the Backpack Body
- Attach two side panels to front panel:
- Pin two fabric pieces together (right sides facing)
- Sew along straight line with 1cm seam allowance
- Turn out and iron flat seam
- Attach bottom to sewn unit:
- Similarly, pin then sew
- Pay attention to keeping corners square
- Complete main body:
- Attach back panel to completed unit
- Sew three sides, leave top open
When sewing a mini backpack, pay special attention to corners. Sew in short sections, carefully at corners to avoid wrinkling or misalignment.
3. Making Straps and Accessory Pockets
Making straps:
- Fold strap fabric piece in half lengthwise
- Sew along long edge
- Turn right side out
- Iron flat with seam in center
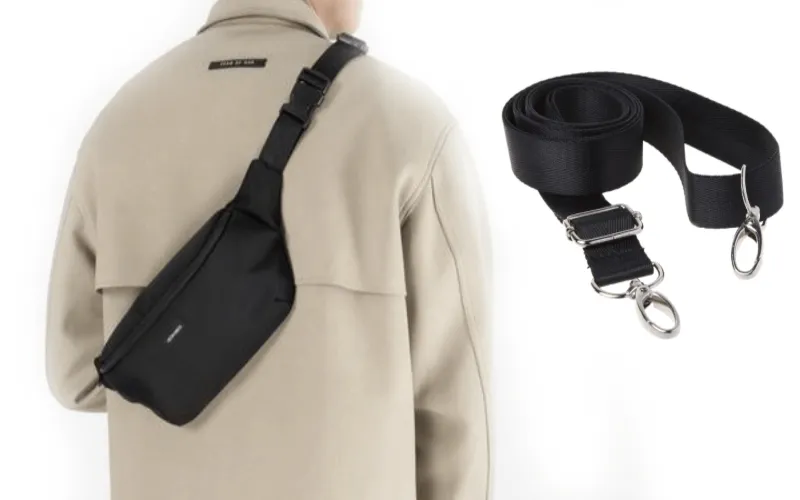
Making accessory pocket (optional):
- Cut small fabric piece smaller than front panel
- Hem edges or fold edges
- Attach to front panel before final assembly
4. Assembling Components
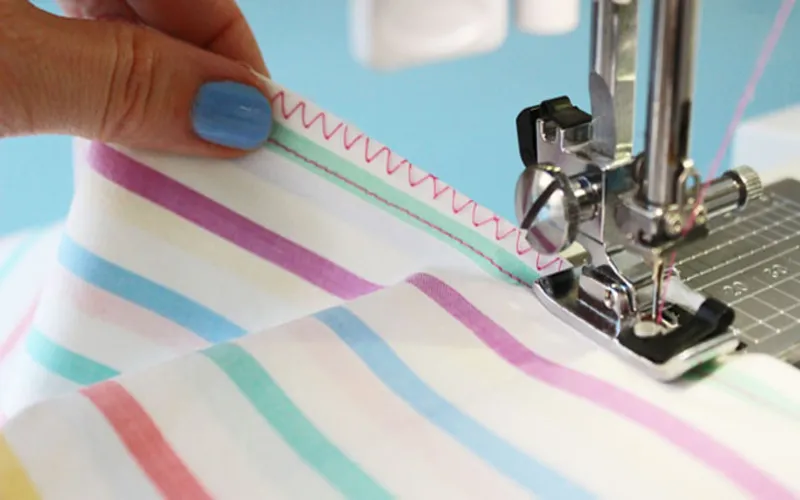
- Attach straps to back panel of backpack
- Attach flap (if any) to back panel
- Finish top edge by folding edge inward and sewing
- Check all seam lines
➡ Reference: details of Hop Phat’s student backpack workshop work if you need large quantities!
IV. Mini Backpack Variations – Model 2
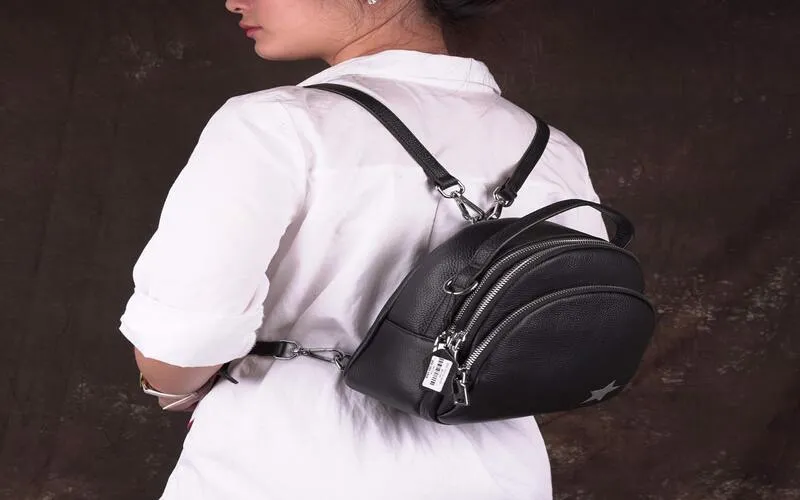
After mastering the basic model, you can try a crossbody mini backpack – a more modern and convenient fashionable backpack design for women.
1. Crossbody Mini Backpack
Design differences:
- More compact size (about 18x15x8cm)
- One long strap instead of two
- Usually has zipper on top or cover flap

Sewing steps:
- Prepare pattern like Model 1 but adjust dimensions
- Cut fabric as instructed
- Sew backpack body similarly
- Make one long strap 80-100cm
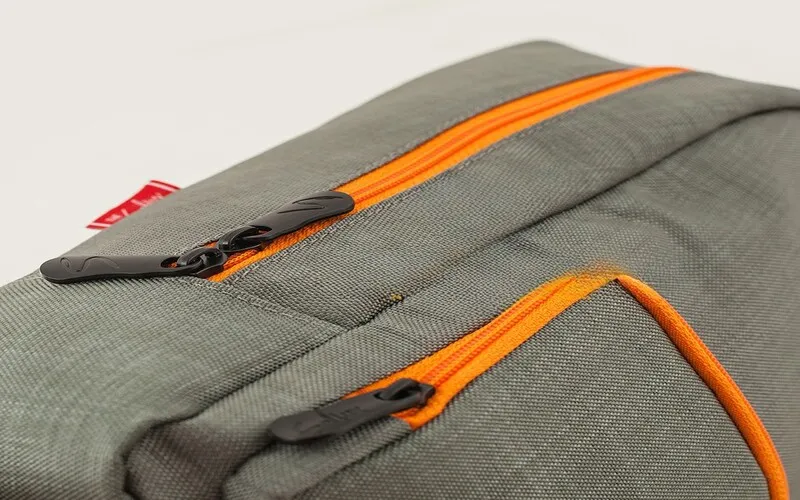
2. Professional Zipper Sewing Technique
Zipper is an important detail in crossbody mini backpack sewing method. Here’s the basic zipper sewing technique:
- Prepare zipper and fabric:
- Place zipper face down (zipper face contacts fabric right side)
- Pin in place
- Sew zipper:
- Use specialized zipper foot (if available)
- Sew close to zipper teeth but not too close
- Pay attention to sewing evenly and straight
- Finishing:
- Turn fabric out, iron flat
- Sew decorative top-stitch 2-3mm from edge (optional)
V. Mini Backpack Sewing Without Sewing Machine – Model 3
Don’t have a sewing machine? Don’t worry! You can still sew a mini backpack by hand with simple stitches.
1. Basic Hand Sewing Technique
Preparation:
- Sturdy needle suitable for fabric type
- Durable, thick backpack thread
- Clips or pins to hold fabric
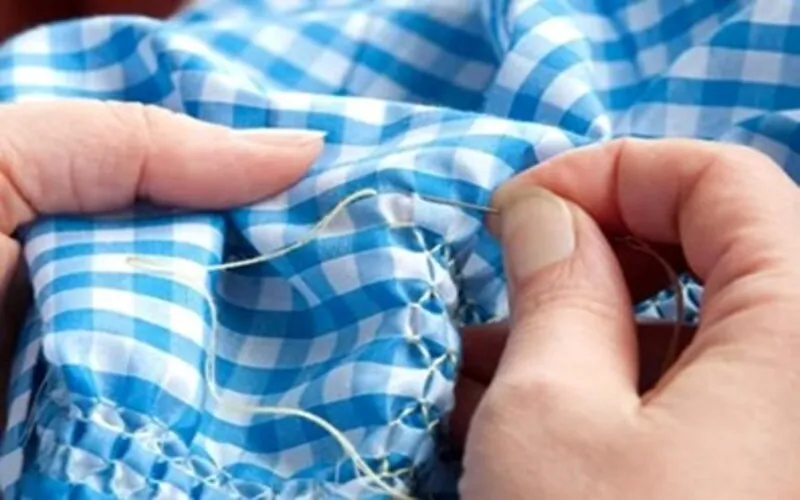
Sewing steps:
- Pin two fabric pieces together
- Start sewing from one corner
- Sew evenly by hand, keeping equal spacing between stitches
- Tie secure knot at end of seam
2. Common Hand Stitches for Backpacks
- Running Stitch:
- Simplest but least durable
- Suitable for thin fabric or decorative lines
- Back Stitch:
- Durable, resembles machine sewing
- Ideal for load-bearing seams
- Whip Stitch:
- Used to join two fabric edges
- Creates flexible seam

For a durable and beautiful handmade mini backpack, choose back stitch for main seams and whip stitch for finishing fabric edges.
VI. Decorating and Finishing Mini Backpack
Your mini backpack will become more unique with creative decoration ideas.
1. Handmade Backpack Decoration Ideas
- Hand embroidery simple patterns
- Attach decorative buttons or beads
- Stick/sew fabric patches with favorite images
- Draw on fabric with specialized fabric pens
- Attach charms or small keychains
- Attach lace or decorative trim

2. How to Fix Common Mistakes
| Error | Cause | Solution |
|---|---|---|
| Wrinkled fabric | Sewing too tight | Remove, re-pin and sew looser |
| Uneven seam line | Lack of marking, rushed sewing | Use marking chalk, sew slower |
| Zipper stuck | Sewn too close to teeth | Remove and resew with appropriate spacing |
| Backpack warped | Inaccurate fabric cutting | Recheck pattern and cut more carefully |
3. Maintaining Mini Backpack After Sewing

- Wash gently by hand with cold water
- Avoid wringing hard, air dry naturally
- Dry in shade
- Avoid storing backpack in damp places
- Periodically check and reinforce seam lines
VII. Tips and Notes When Sewing Mini Backpack
These small tips below will help your mini backpack sewing process become easier and more professional.
1. How to Choose Suitable Backpack Sewing Thread
- Polyester thread durable and strong, suitable for most fabric types
- Cotton thread suitable for cotton and natural fabrics
- Nylon thread highly durable, good water resistance
- Thread thickness: Choose thread number 40-50 for regular fabric, 30-40 for thick fabric
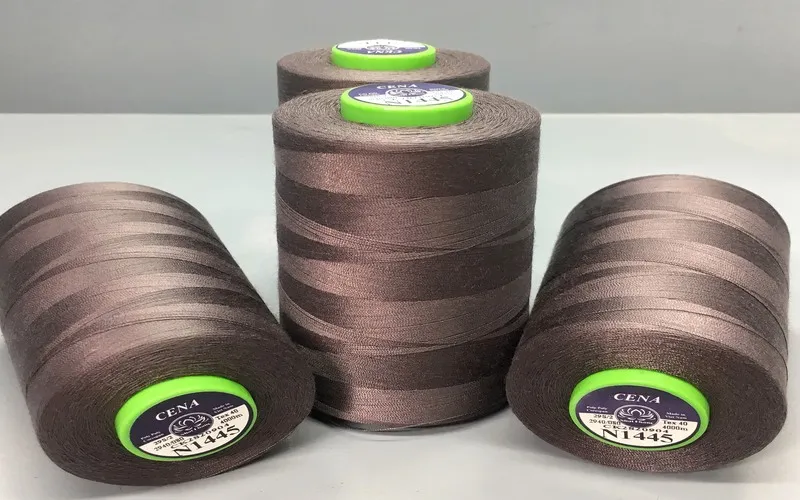
Important tip: Always choose good quality thread, color matching fabric. Don’t skimp on sewing thread because it determines product durability!
2. Handling Common Issues
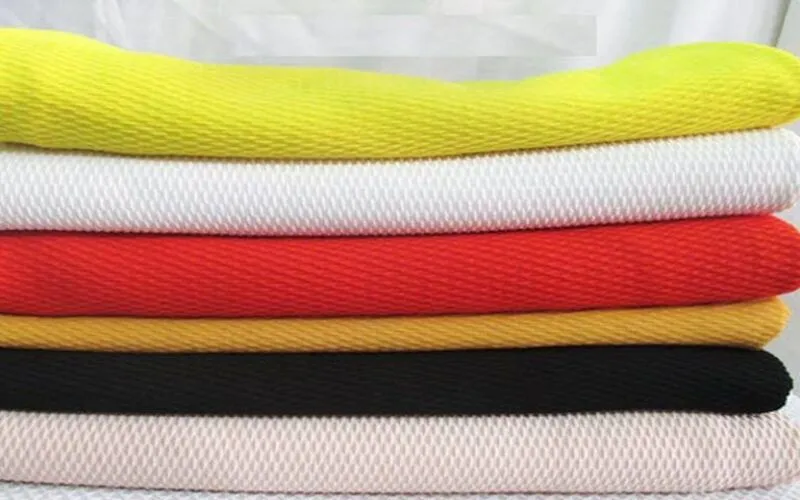
- Fabric too thick cannot sew:
- Use thick fabric needle
- Sew slowly, in short sections
- Use rubber hammer to gently tap fabric edges before sewing
- Fabric slips when sewing:
- Use more pins
- Use temporary adhesive spray
- Sew with special presser foot (if available)
- Unsightly seam line:
- Recheck thread tension
- Replace with new needle
- Clean sewing machine
3. Advanced Backpack Sewing Techniques
After mastering basic techniques, you can advance with:

- Making interior pockets with compartments: Create small compartments inside backpack
- Sewing padded straps: Create soft padding for more comfortable straps
- Designing magnetic flap: Use hidden magnets instead of buttons
- Creating 3D effects: Use thin padding to create raised effects
- Combining multiple fabric types: Combine 2-3 fabric types to create accents
With the detailed guide on how to sew a mini backpack above from May Hop Phat, you have complete knowledge to start this meaningful handmade project. From fabric selection to sewing techniques, every step is clearly presented so you can confidently proceed. Apply the mini backpack sewing methods you’ve learned to achieve the desired results!