

 Tiếng Việt
Do you have a passion for sewing and want to try a new creative project? Learning how to sew a cute backpack for your girlfriend is the perfect choice. With detailed guidance from Hop Phat Manufacturing, you can easily transform fabric pieces into an adorable backpack that expresses your unique personality. Start now to create your own handmade masterpiece!
I. Preparing Materials and Tools
1.1 Suitable Fabric Types for Backpack Sewing
Choosing suitable fabric is the first crucial step. Each fabric type will bring different feel and durability to your backpack.
Common fabric types:
- Canvas: Durable, sturdy, suitable for beginners
- Nylon fabric: Lightweight, water-resistant, ideal for daily use backpacks
- Cotton fabric: Soft, diverse patterns, easy to sew but less durable
- Felt fabric: Easy to cut, doesn’t fray, suitable for decorative backpacks

Fabric Selection Tip: When buying fabric, choose medium thickness fabric (not too thin and prone to tearing, not too thick and hard to sew), with slight elasticity and long-lasting beautiful colors. For handmade backpacks, canvas and nylon fabric are usually the safest choices for beginners.
1.2 Necessary Tools
To sew a complete backpack, you need to prepare these basic tools:
- Backpack and bag sewing machine (or needle and thread for hand sewing)
- Sharp fabric scissors
- Measuring ruler and fabric chalk
- Pins or clips
- Sewing thread suitable for fabric type
- Zipper, magnetic clasp, or drawstring
- Webbing for shoulder straps
- Pencil and paper for pattern drawing
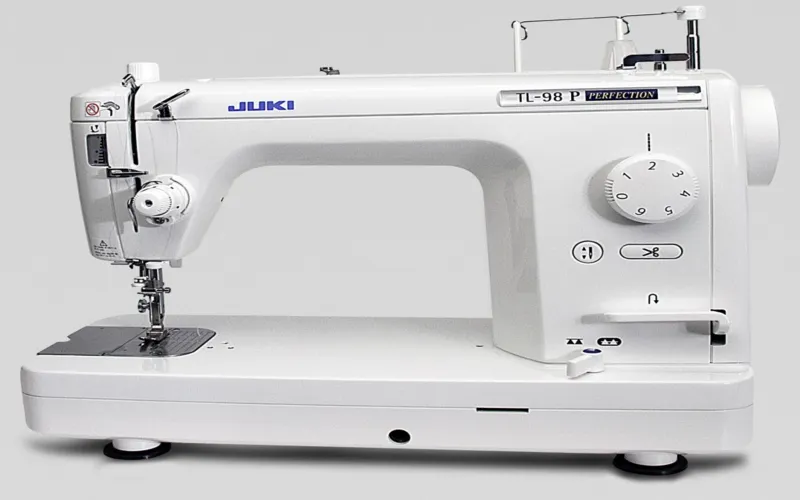
Estimated investment cost for tools and materials is about 200,000-400,000 VND, depending on the quality of fabric and accessories you choose.
1.3 How to Prepare Pattern
Creating a pattern is an important step to help you get a balanced and beautiful backpack. You can:
- Draw pattern on paper based on desired dimensions
- Download ready-made patterns from the internet and adjust
- Reference existing backpacks and take measurements
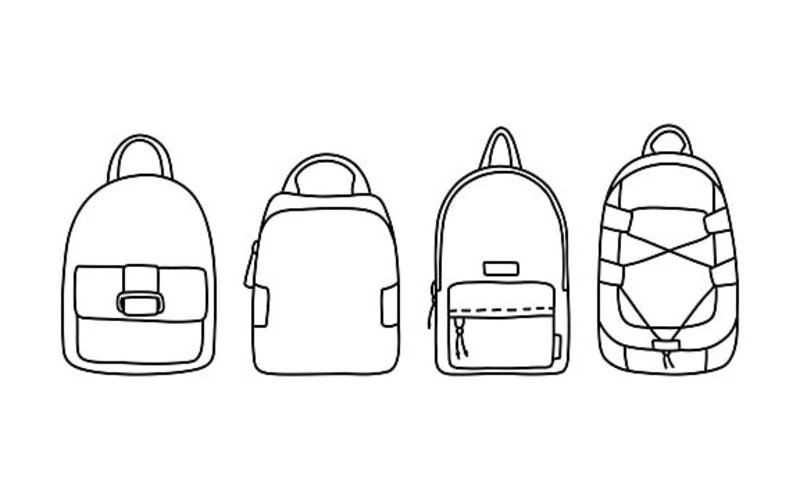
Important Note: Should add 1-1.5cm for seam allowance to each edge of the pattern. This helps you have enough fabric to sew and avoid the backpack being smaller than expected.
II. 5 Popular Cute Backpack Styles
1.1 Simple Japanese-Style Mini Backpack
Japanese-style mini backpack is one of the most loved styles today. With compact design and cute style, it suits many different occasions.
- Characteristics: Small size (about 25x30cm), minimalist design, usually has 1-2 compartments
- Difficulty Level: ★★☆☆☆ (suitable for beginners)
- Completion Time: 2-3 hours

1.2 Cute Plush Animal Backpack
If you want an extremely adorable backpack, animal-shaped backpack is an unmissable choice. Although slightly more complex, the final result will make you very satisfied.
- Popular Variations: Cat, rabbit, bear, fox backpacks
- Special Technique: Need attention to creating 3D animal face section
- Difficulty Level: ★★★★☆

Small Tip: To create 3D effect for animal backpacks, you can use stuffing for ears, nose, or tail sections. This will make your backpack more lively.
1.3 Versatile Canvas Backpack
If you’re looking for a backpack that’s both beautiful and practical, the versatile canvas backpack is an excellent choice.
- Notable Features: Multiple compartments, durable, suitable for school/work
- Important Techniques: How to sew laptop compartment, create small inner pockets
- Difficulty Level: ★★★☆☆
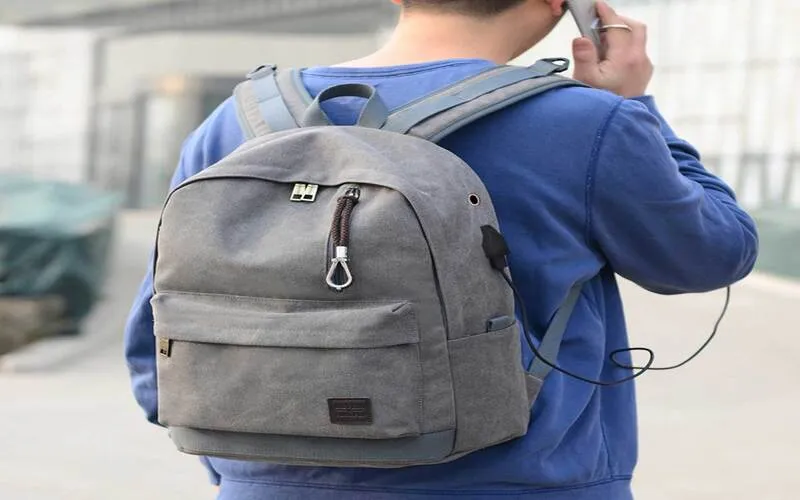
A quality canvas backpack needs to be well-reinforced at stress points like shoulder straps and backpack bottom. You can use zigzag stitch or sew multiple layers at these positions.
1.4 Simple Drawstring Bag Backpack
Drawstring bag backpack is the simplest style for beginners. You can complete it in just a few hours.
- Design: Simple, lightweight, usually only one main compartment
- Variations: Can add outer pocket, add lining, decorate with patterns
- Making Time: 1-2 hours
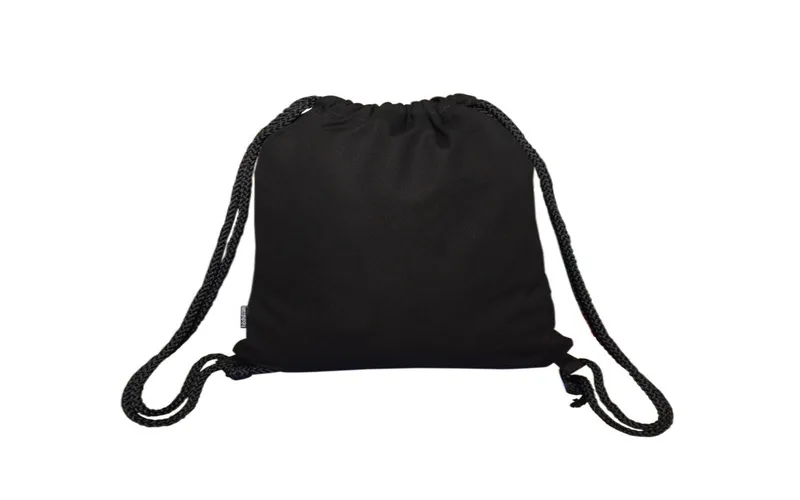
Quick Sewing Tip: To make a drawstring bag backpack, you just need to fold fabric edge to create a string channel, then sew and thread drawstring through. This is the ideal backpack style for those new to sewing.
1.5 Embroidered/Embellished Pattern Decorated Backpack
If you want to express personality through your backpack, try decorating it with unique embroidered or embellished patterns.
- Decoration Techniques: Hand embroidery, beading, button embellishment, acrylic painting
- Pattern Ideas: Floral patterns, cartoon characters, artistic lettering
- Difficulty Level: Depends on pattern complexity
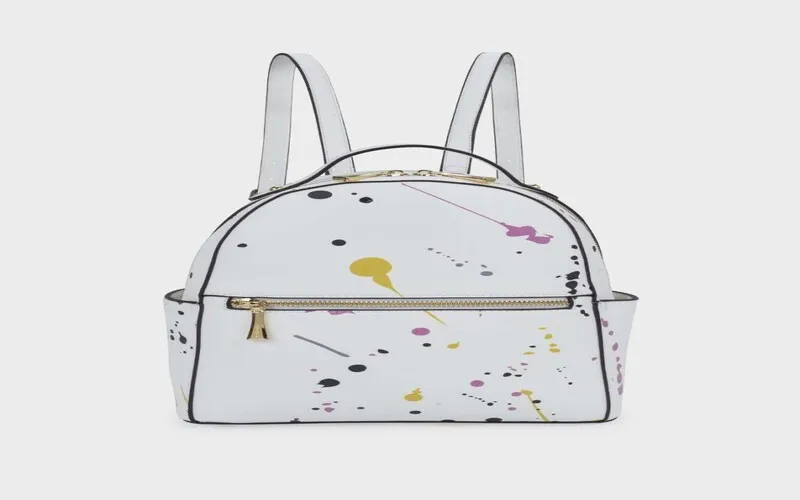
Color Matching Secret: Should choose maximum 3 dominant colors to avoid making the backpack overwhelming. Background color should be neutral tones (like beige, gray, black) to highlight decorative patterns.
➡ To be able to sew these products for business purposes, Hop Phat gift backpack manufacturing also provides canvas backpack custom sewing services at factory prices.
III. Detailed Instructions for Sewing Cute Mini Backpack (Basic Style)
Now, I’ll guide you through each specific step to sew a cute mini backpack. This is a basic style but still ensures aesthetics and functionality.
1.1 Steps 1-3: Preparing Pattern and Cutting Fabric
Step 1: Draw and cut pattern with dimensions as follows:
- Front/back body section: 25cm x 30cm (x2 pieces)
- Bottom section: 25cm x 10cm (x1 piece)
- Flap section: 25cm x 15cm (x1 piece)
- Shoulder strap: 5cm x 60cm (x2 pieces)
- Side pocket (if any): 20cm x 15cm (x1 piece)
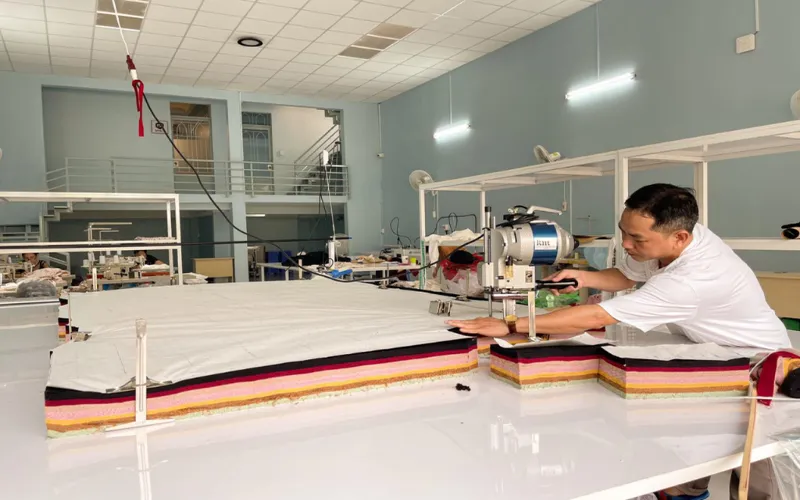
Step 2: Place pattern on fabric and use chalk to trace outline. Remember to add 1cm for seam allowance.
Step 3: Cut fabric according to drawn lines. If you want a sturdier backpack, can cut an additional set with lining fabric.
Important Note: When cutting fabric, pay attention to fabric grain direction and fabric stretch. Some fabrics have different stretch in different directions.
1.2 Steps 4-6: Sewing Main Details
Step 4: Sew side pocket (if any)
- Fold side pocket fabric edge inward 1cm and sew
- Place side pocket on front body section and sew to secure
Step 5: Sew zipper
- Place zipper between two front and back body pieces
- Pin to secure and sew in straight line
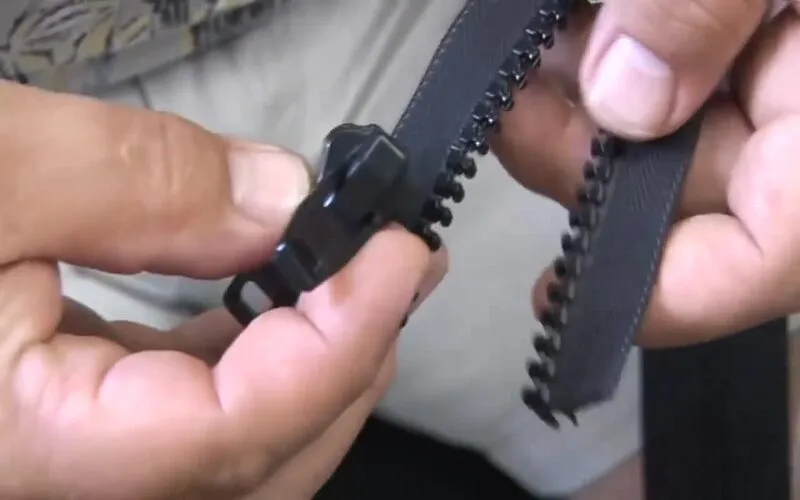
Step 6: Sew bottom and body sections
- Place right sides of bottom and body sections facing each other
- Sew along outline, leaving top section open
Corner Sewing Technique: When sewing to a corner, stop, leave machine needle down in fabric, lift presser foot, rotate fabric 90 degrees, lower presser foot and continue sewing. This helps create sharp sewing corners.
1.3 Steps 7-9: Assembly and Finishing
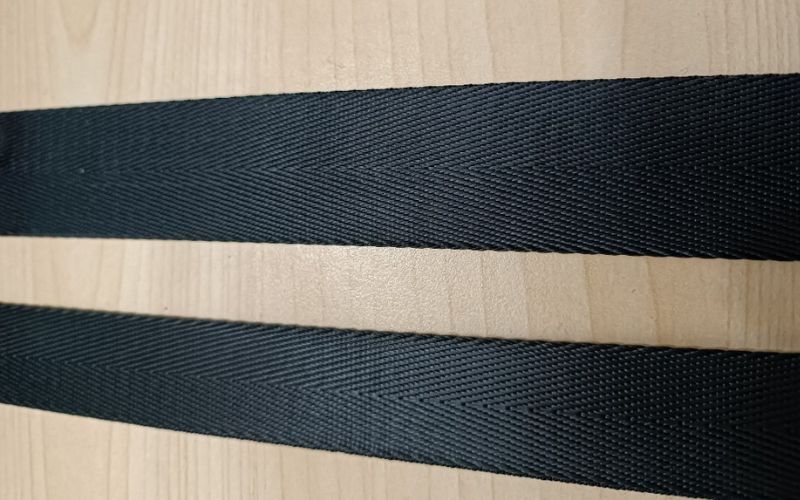
Step 7: Sew shoulder straps
- Fold shoulder strap fabric piece in half lengthwise
- Sew along long edge and turn right side out
- Secure shoulder straps to backpack body by sewing X pattern or square
Step 8: Sew backpack flap
- Fold flap fabric edge 1cm and sew
- Secure flap section to backpack back
- Sew snap button or velcro to close/open flap
Step 9: Reinforce stress points
- Sew additional fabric layer at backpack bottom
- Reinforce shoulder straps by sewing multiple lines
- Check and reinforce all joints
1.4 Step 10: Decoration and Finishing
Step 10: Decorate backpack as desired
- Embroider patterns or name on backpack
- Attach beads, buttons, or charms
- Use acrylic paint to draw (if fabric suitable)
Final product quality check:
- Ensure all stitching lines are secure
- Check zipper operates smoothly
- Try wearing backpack to adjust strap length
Decoration Tip: To create accent points for backpack, you can use appliqué technique – sewing small fabric pieces with cute shapes onto backpack. This technique is simple but highly effective.
IV. Tips and Notes When Self-Sewing Backpack
1.1 Handling Common Mistakes
When self-sewing backpacks, you may encounter some common mistakes:
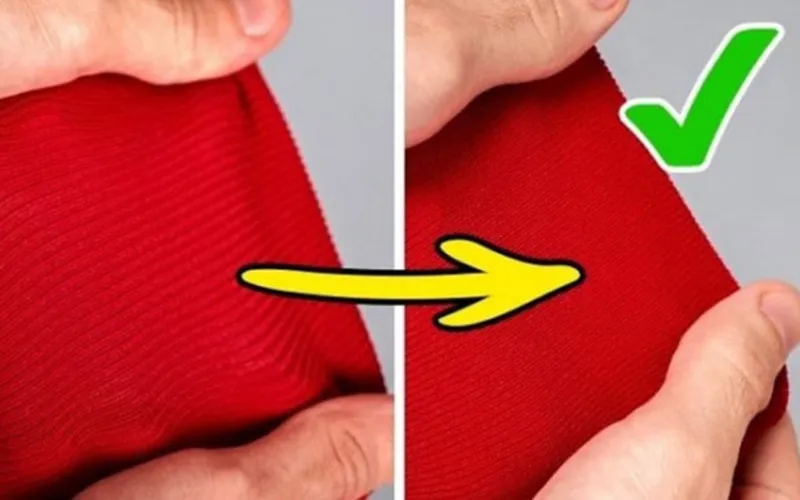
Fabric wrinkled, puckered:
- Cause: Thread too tight or presser foot too tight
- Solution: Adjust thread tension, use needle suitable for fabric type
Stitching not straight:
- Cause: Sewing too fast or not marking stitching line
- Solution: Draw stitching line with chalk, sew at moderate speed
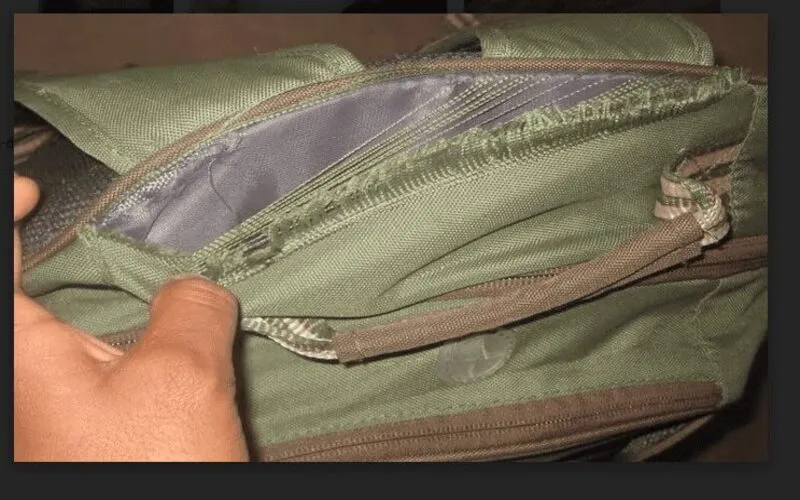
Zipper malfunction:
- Cause: Not sewing evenly on both sides of zipper
- Solution: Use specialized presser foot or pin to secure before sewing
Mistake Fixing Tip: If you discover a mistake, don’t hesitate to unpick stitching and redo. This takes more time but will help the final product look much better.
1.2 How to Clean and Maintain Fabric Backpack
To keep your handmade backpack beautiful over time, pay attention to cleaning and maintenance:
- Gentle washing: Best to hand wash with cold water and neutral soap
- Avoid strong wringing: Only gently press to remove water
- Dry in shade: Direct sunlight can fade fabric colors
- Store properly: Stuff newspaper inside to maintain shape when not in use

Periodic reinforcement: After about 3-6 months of use, you should check and re-reinforce stitching lines if necessary.
1.3 Improving Backpack Sewing Skills
If you want to improve your skills in backpack sewing, there are many useful learning resources:
- Online courses: Many courses from basic to advanced on platforms like Udemy, Skillshare
- Community groups: Join Facebook groups about handmade to exchange experiences
- YouTube channels: Follow channels specializing in sewing, handmade

Effective Learning Tip: Start with simple patterns and gradually increase difficulty. Don’t hesitate to experiment with different fabrics and techniques.
V. Ideas for Variation and Backpack Personalization
1.1 Advanced Decoration Techniques
To create a truly unique backpack, you can apply advanced decoration techniques:
Hand/machine embroidery:
- Embroider names, patterns, or favorite images
- Use multi-colored embroidery thread to create accents
Beading, sequins:
- Create simple shapes with small beads
- Combine with buttons to create 3D patterns
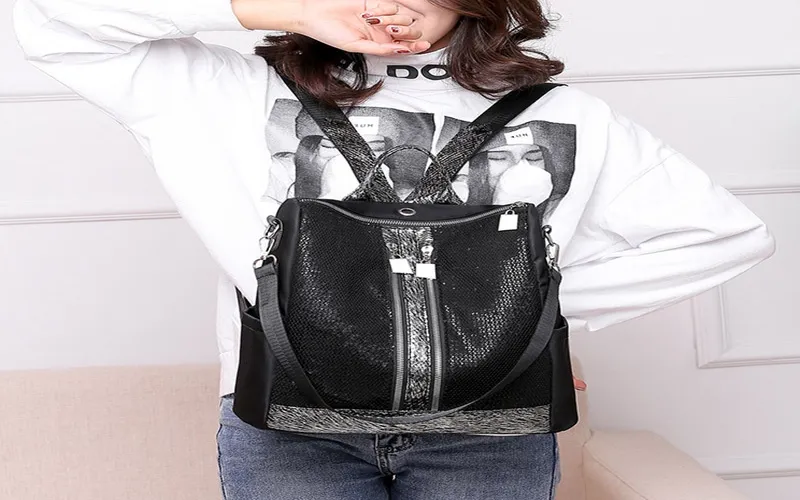
Printing/drawing patterns:
- Use stamps or stencils to create repeating patterns
- Hand draw with specialized fabric pens
Decoration Secret: Should sketch design on paper before executing on fabric. This helps you visualize the final result and avoid mistakes.
1.2 How to Create Your Own Style
How to make your backpack stand out from the crowd? Here are some suggestions:
Combine unique colors:
- Use contrasting color combinations (like black-white, blue-orange)
- Create ombré effect by dyeing fabric
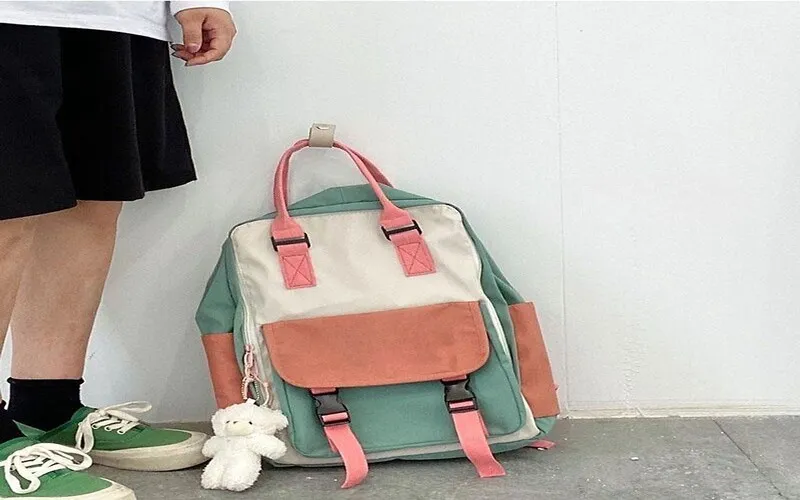
Add personal details:
- Attach favorite charms or necklace pendants
- Embroider name or meaningful quotes
Learn from modern fashion:
- Follow latest bag trends
- Combine vintage and modern elements
Personalization Tip: Don’t hesitate to combine multiple materials like fabric, leather, felt… This combination will create a unique backpack only you have.
A backpack made from the heart will be more meaningful than any expensive gift. With these instructions on how to sew a cute backpack for your girlfriend, you can confidently create a special gift. This is an opportunity to challenge your dexterity and creativity. If you need backpack manufacturing, contact Hop Phat Manufacturing – we specialize in producing and sewing custom backpacks, ensuring perfect quality and designs.