

 Tiếng Việt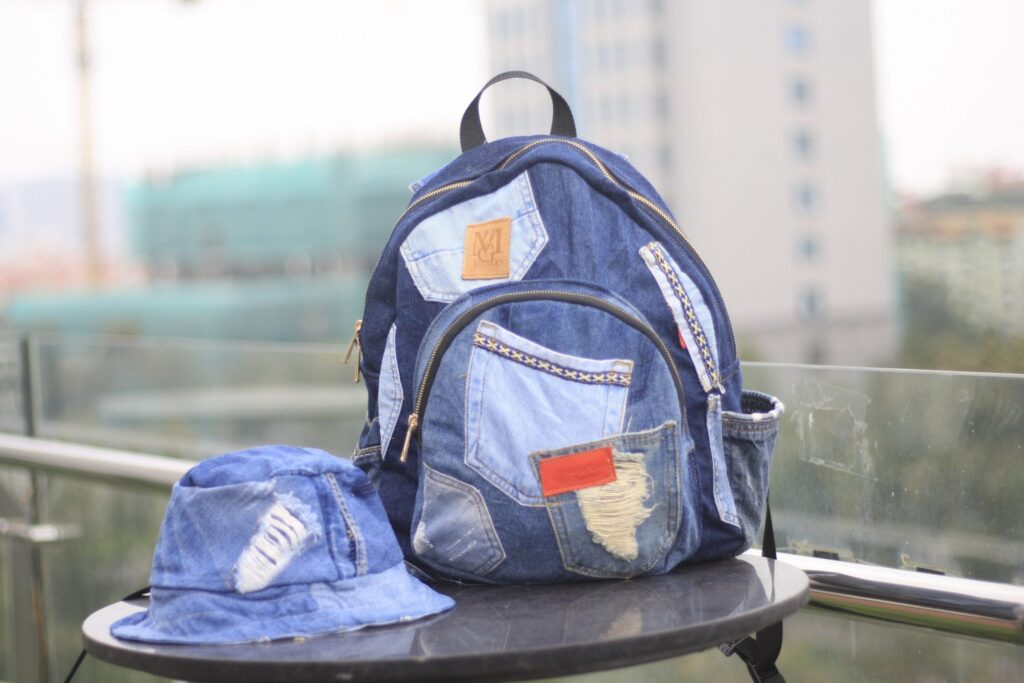
15+ Ways to Transform Old Backpacks into New with Just 5 Simple Steps. Transforming old backpacks into new is a creative way to help you save money and protect the environment. Hop Phat Sports Backpack Manufacturing Unit will share methods from simple to advanced to help revive old backpacks into unique products with your personal signature.
The information we provide is suitable for DIY lovers and savers. This detailed guide will help you learn how to decorate, repair, and comprehensively renovate, turning worn-out items into impressive fashion accessories that everyone will admire.
I. Preparation Before Making Backpack Over
1. Assessing Old Backpack Condition
Before starting to renew your backpack, you need to carefully assess its current condition:
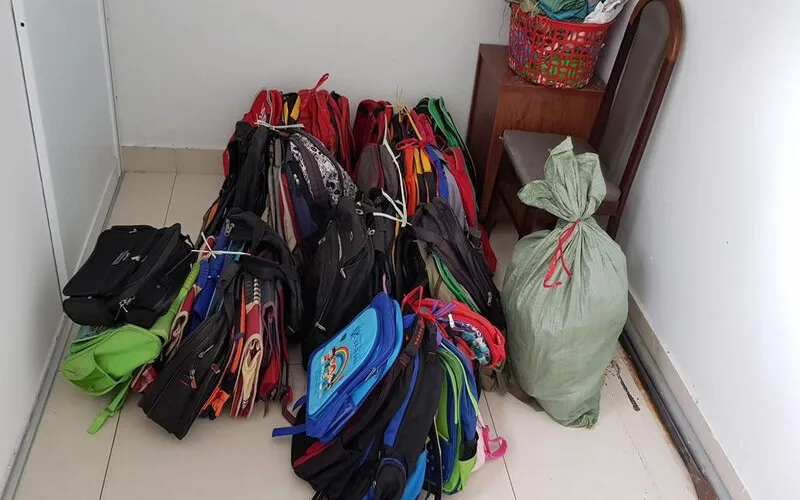
- Thoroughly check seams, zippers, shoulder straps
- Clearly identify damaged parts that need repair
- Evaluate stains, discoloration, fading
- Develop ideas for renovation suitable to backpack condition
You should take photos of the backpack before starting the renewal process to compare “before and after” when the project is complete!
2. Necessary Tools and Materials
2.1 Basic Tools
|
Tool |
Function |
|
Scissors |
Cutting fabric, patches, stickers |
|
Needle and thread |
Sewing, attaching decorative details |
|
Glue gun |
Gluing decorative details |
|
Iron |
Flattening fabric, pressing heat patches |
|
Paintbrush |
Painting, coloring on backpack |
2.2 Decorative Materials
- Fabric patches (sewn or iron-on)
- Decorative stickers
- Beads, sequins
- Ribbons
- Fabric paint (acrylic or specialty fabric)
- Fabric markers
- Buttons, decorative fasteners

2.3 Repair Materials
- Fabric patches
- Replacement zippers
- Specialty fabric glue
- Durable sewing thread
- Replacement straps
3. Cleaning Backpack Before Starting
3.1 Cleaning Different Backpack Materials
Before proceeding with renewal, you need to clean the backpack:
- Canvas backpack: Gently wash with warm water and neutral soap, air dry naturally
- Nylon/polyester backpack: Wipe with damp cloth and mild soap, avoid soaking in water
- Leather/faux leather backpack: Use specialized leather soap, gently wipe surface
3.2 Deodorizing and Removing Stains
For backpacks with unpleasant odors:
- Soak in mixture of water and white vinegar (3:1 ratio) for 30 minutes
- Sun dry in gentle sunlight after washing clean
- Use baking soda sprinkled on backpack surface, leave overnight then vacuum clean
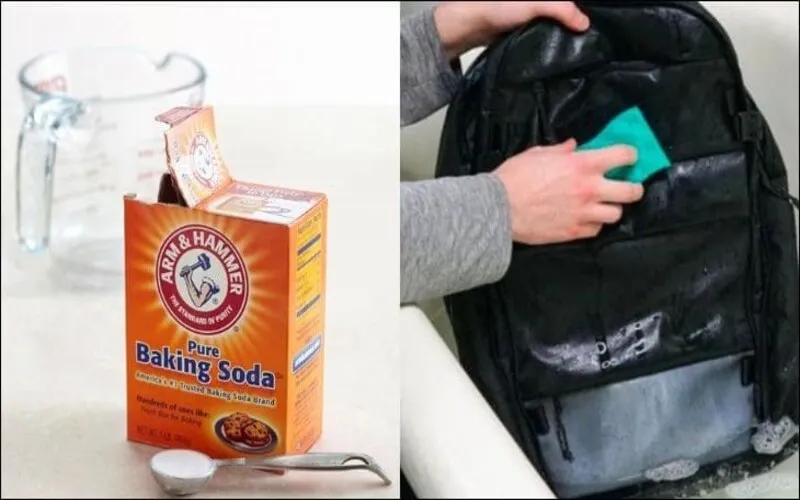
For stubborn stains:
- Mix baking soda with a little water to create thick paste
- Apply to stain, rub gently and leave for 1-2 hours
- Wash clean and air dry
II. Simple Backpack Renewal Methods
1. Decorating Backpack with Hand-Painted Designs
1.1 Preparing Backpack Surface
For effective painting on backpack:
- Wash clean and dry completely
- Iron surface flat (if fabric)
- Insert a piece of cardboard inside so painting surface doesn’t sink
- Use painter’s tape to create borders if drawing geometric shapes
1.2 Basic Painting Techniques
Some simple painting techniques:
- Stencil: Use pre-cut templates, place on backpack and color
- Dot marking: Create patterns from many colored dots
- Continuous lines: Draw thin lines with fabric marker
- Flat coloring: Evenly color a large area
Helpful tip: Sketch with pencil first, then proceed to color!
1.3 Fixing Paint Color
After completion:
- Air dry naturally for at least 24 hours
- Iron reverse side of fabric (if possible) through thin fabric layer
- Or use dryer at medium temperature for 5 minutes
- Spray protective layer specifically for fabric (fabric sealer) for long-lasting color
2. Renewing Backpack with Patches and Stickers
2.1 Choosing and Arranging Patches Reasonably
Renewing backpack with patches is simple and effective:
- Choose patch groups with similar or complementary colors
- Arrange patches on backpack before gluing/sewing
- Create focal point with 1-2 large patches, combined with smaller patches
- Combine patches with different thicknesses to create depth
2.2 Proper Patch Gluing/Sewing Techniques
For iron-on patches:
- Place patch at desired position
- Place thin fabric piece over patch
- Iron at medium temperature (no steam) for 20-30 seconds
- Let cool completely before checking adhesion

For sewn patches:
- Secure patch with pins or temporary glue
- Use hidden stitch around edges
- Or create accent with contrasting color thread with raised stitch
2.3 Unique Sticker Combination Ideas
Stickers are quick way to decorate backpack:
- Flow backpack: Arrange stickers in stream from top to bottom
- Theme backpack: Choose stickers of same theme (like travel, music, art)
- Gradient backpack: Arrange stickers in color order, creating color transition effect
- Story backpack: Tell a story by arranging related stickers
Note: For more durable stickers, use clear glue layer coating after application!
3. Transforming Backpack with Simple Sewing Techniques
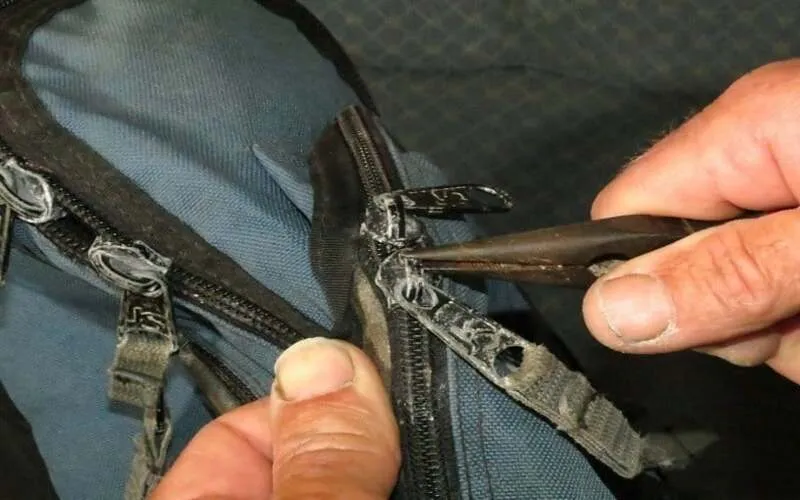
3.1 Replacing Broken Zipper
Broken zipper makes backpack lose basic function. Here’s how to replace:
- Remove old zipper with seam ripper
- Prepare new zipper of same size or larger (can be cut)
- Pin new zipper to correct position
- Sew with straight stitch, noting moderate tension
- Reinforce beginning and end of zipper with zigzag stitch
3.2 Patching and Reinforcing Torn Parts
For tears:
- Small tears: Use iron-on patch from inside
- Medium tears: Sew with zigzag stitch, then attach decorative fabric piece over it
- Large tears: Completely replace torn fabric piece with new fabric
Helpful tip: Turn tears into focal points! Place brightly colored fabric piece behind tear and sew around edges with contrasting thread.
3.3 Adding Side Pockets and Compartments
Increase backpack functionality by adding compartments:
- Prepare fabric for side pocket (choose sturdy, moderately thick fabric)
- Cut fabric to desired size, leave 1cm extra for seam
- Sew pocket edges (can add zipper if wanting pocket with cover)
- Secure pocket to desired position on backpack with pins
- Sew pocket onto backpack, noting reinforcement at corners
III. Advanced Backpack Renewal Techniques
1. Completely Changing Backpack Color
1.1 Choosing Paint Type Suitable for Backpack Material
Depending on backpack material, choose appropriate paint type:
- Canvas fabric: Diluted acrylic paint, fabric dye
- Polyester fabric: Synthetic dye, specialty fabric paint
- Leather/faux leather: Specialty leather paint, don’t use dye
Compatibility table:
|
Backpack Material |
Suitable Paint Type |
Durability |
|
Canvas |
Fabric dye, Acrylic |
High |
|
Polyester |
Synthetic dye |
Medium |
|
Nylon |
Special fabric paint |
Medium |
|
Leather/Faux leather |
Specialty leather paint |
High |
1.2 Even Dyeing/Painting Techniques
Backpack dyeing process:
- Dampen backpack (if using dye)
- Prepare dye solution according to instructions
- Soak backpack for 30-60 minutes, stir evenly
- Rinse under running water until water is clear
- Air dry in shade
Backpack painting process:
- Clean and completely dry surface
- Apply primer coat if needed
- Paint 2-3 thin coats, wait for drying between coats
- Apply waterproof protective layer

1.3 Creating Gradient and Ombre Color Effects
Gradient effect creates soft color transition:
- Prepare 2-3 paint/dye colors
- Start with darkest color at bottom of backpack
- Gradually spray/brush upward, mixing with next color
- Use damp sponge to create blending effect between colors
- Let dry completely before adding protective layer
Helpful tip: Spray water lightly on intersection area between colors to create more natural blending effect!
2. Restructuring and Changing Backpack Style
2.1 Trimming and Resewing Backpack Form
Changing backpack shape:
- Draw new cutting line on backpack with sewing chalk
- Remove necessary seams
- Cut according to drawn line
- Pin and resew according to new form
- Reinforce load-bearing seams
Warning: This is difficult technique, practice on spare fabric first!
2.2 Transforming Regular Backpack into Fashion Backpack
Some transformation ideas:
- Add decorative drawstring
- Trim top part, transform into flap lid type
- Add decorative metal locks
- Add edges with different color/material fabric
- Attach tassel details at bottom or backpack lid
2.3 Changing Straps and Handles

New straps make backpack look different:
- Remove old straps
- Choose new fabric/straps (thick cotton webbing, guitar strap, paracord)
- Cut to appropriate length, leave 10cm extra for seam
- Sew firmly reinforced at connection point
- Add shoulder padding if necessary
Creative idea: Use braided natural fiber rope, create unique boho strap!
3. Combining Multiple New Materials
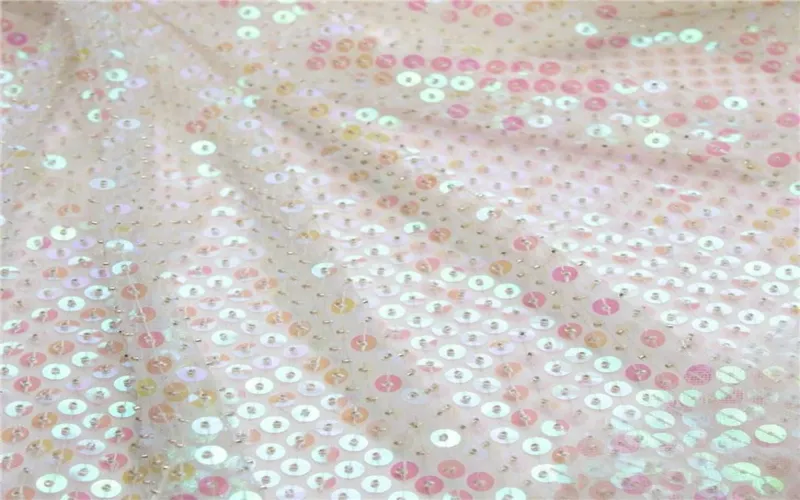
3.1 Attaching Lace, Beads and Sequins
Create sparkling backpack:
- Design pattern first on paper
- Transfer pattern to backpack with sewing chalk
- Attach beads/sequins according to drawn lines
- Combine with lace at edges or backpack lid
- Secure with special glue or hand sewing
3.2 Combining Leather and Canvas Fabric
Create contrast:
- Replace backpack lid with leather/faux leather piece
- Attach geometric leather pieces onto fabric backpack
- Make leather edges for outer pocket
- Replace backpack bottom with leather to increase durability
3.3 Decorating with Rope and Metal
Industrial style:
- Wrap decorative rope around shoulder straps
- Add decorative metal grommets, buttons
- Use small chains to replace zippers
- Create patterns with decorative rivets
IV. 5 Unique Ideas to Turn Your Hands into “Magic”
1. Galaxy Backpack with Splatter Paint Technique
Galaxy backpack is beautiful trend with space effect:
- Paint backpack base black or dark blue
- Create foggy effect with sponge and white/light blue paint
- Create star dots by spattering white, silver paint from toothbrush
- Create nebula with purple, pink, blue paint
- Apply thin silver shimmer layer to increase sparkle
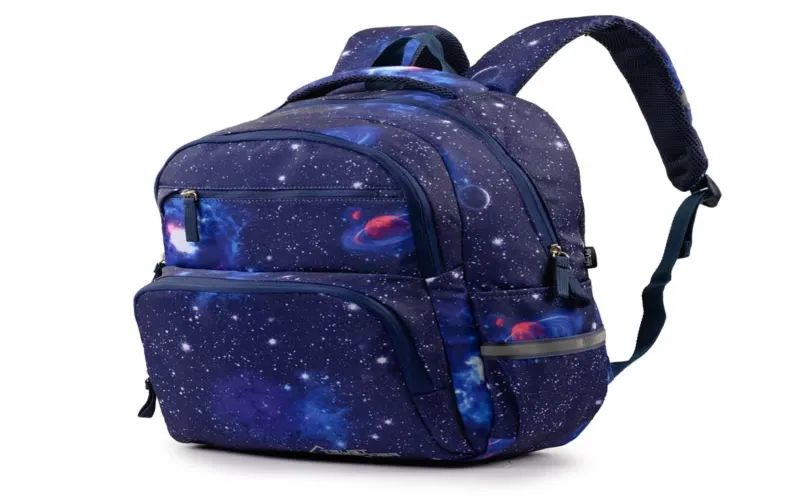
Amazing beautiful results that anyone can make!
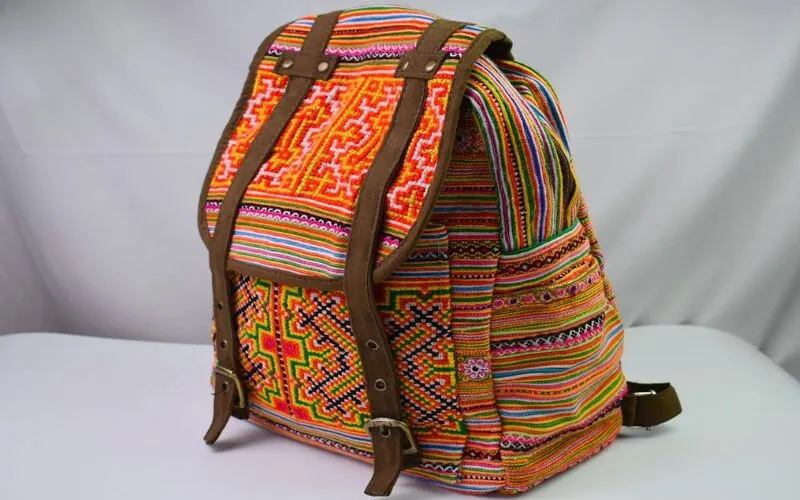
2. Hand-Embroidered Backpack with Folk Patterns
Create unique backpack with embroidery technique:
- Choose simple folk pattern (flowers, leaves, geometric)
- Sketch on backpack with erasable fabric pen
- Use basic embroidery techniques (straight stitch, chain stitch, satin stitch)
- Combine multiple contrasting thread colors
- Can add beads, sequins to increase focal points
Helpful tip: Place embroidery hoop behind fabric to embroider more easily!
3. Holographic Backpack with Reflective Decal Paper
Create super impressive color-changing effect:
- Buy holographic decal paper (can find at craft stores)
- Cut according to desired shapes (simple geometric very effective)
- Peel protective layer and carefully apply to backpack
- Use hard card to remove air bubbles
- Apply protective glue layer to increase durability
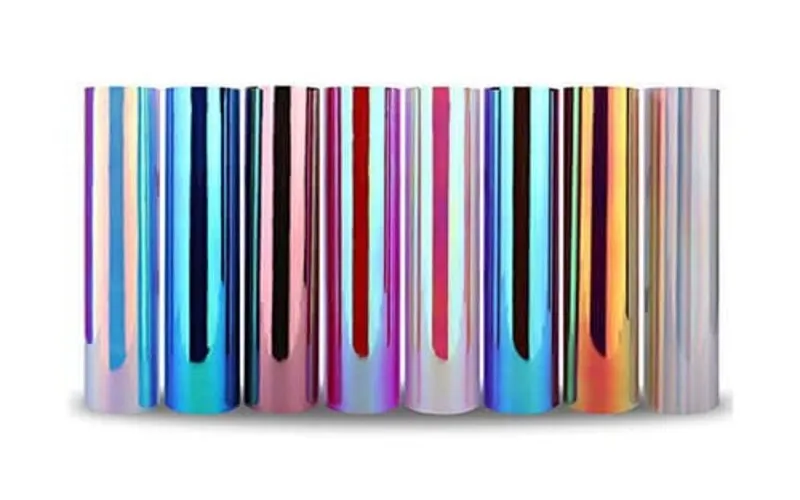
Color-changing light effect will make your backpack stand out!
4. Denim Patchwork Backpack from Old Jeans
Creative recycling:

- Cut fabric pieces from old jeans
- Arrange into patchwork pattern on backpack
- Pin secure each piece
- Sew with sturdy denim thread
- Create vintage torn effect if desired
Combine multiple denim colors (black, light blue, dark blue) to create beautiful visual effect!
5. 3D Backpack with Relief Technique
Create unique focal point:

- Design 3D pattern (like flowers, leaves, animals)
- Cut multiple fabric layers stacked on each other
- Attach each layer, creating depth
- Lightly stuff with cotton to create puffy effect
- Decorate additionally with details like buttons, beads
Additional idea: Create small 3D garden on backpack with cotton-stuffed fabric flowers!
V. Maintaining and Preserving Backpack After Renewal
1. Cleaning Backpack According to Each Decoration Type
Proper maintenance keeps backpack looking new:
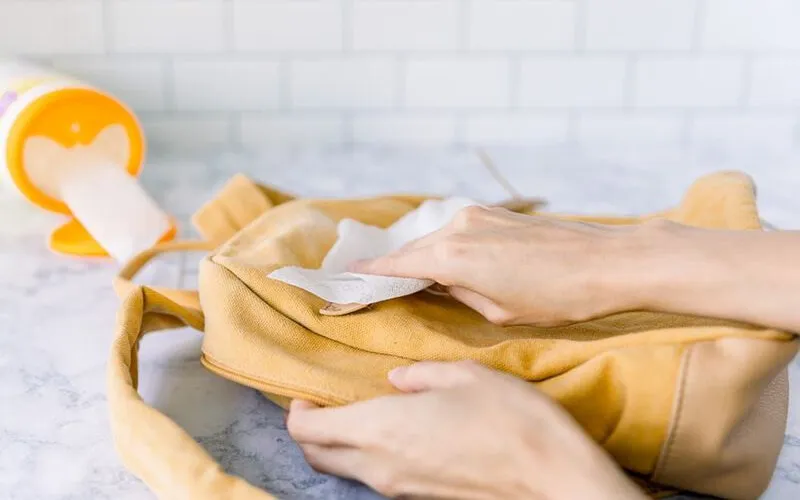
- Backpack with embroidery, beading: Hand wash gently, don’t wring hard
- Backpack with painted designs: Wipe with damp cloth, avoid machine washing
- Backpack with patches: Wash inside out, low temperature, don’t spin hard
- Backpack with metal details: Dry wipe, avoid soaking in water long
2. Tips to Extend Lifespan of Renewed Backpack
Useful tips:
- Spray waterproof layer after renewal
- Completely dry after each use
- Avoid placing backpack in damp or hot sunny places
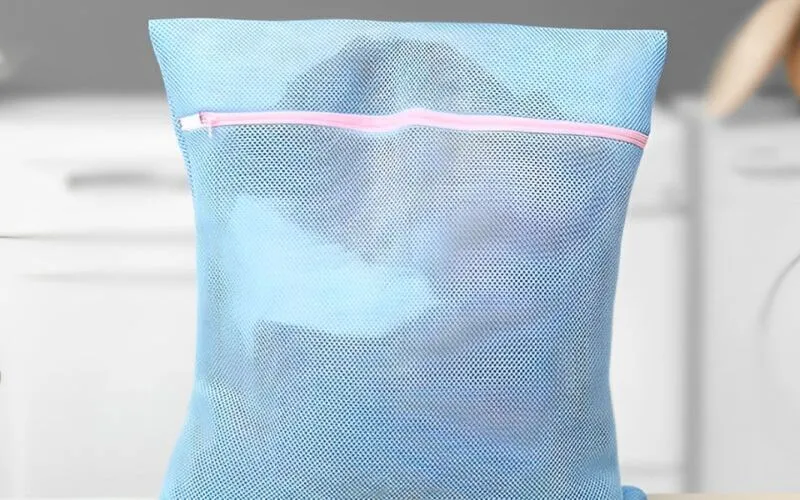
- Use fabric bag to store when not in use
- Check and periodically reinforce easily peeling details
3. Notes When Using Backpack After Decoration
Things to remember:

- Limit containing very heavy items if structural changes made to backpack
- Avoid strong impact with areas having beads, sequins
- For painted backpack, avoid contact with solvents, alcohol
- For backpack with glued details, regularly check glued edges
Transforming old backpacks into new not only saves costs but also expresses personality and contributes to environmental protection. Through this article, you’ve been guided from simple methods like patch application to advanced techniques like complete restructuring. Apply these old backpack transformation tips right away to create your own unique product! If you want custom backpack manufacturing, call 0909.938.333